With the WaterStop water shut-off valve, Ajax moves from alarms and notifications (in this case, water leaks) to active actions that can be automated using the Ajax ecosystem of devices. As with everything released under the company's brand, WaterStop works exactly as you expect it to - easy to install, easy to configure, and works flawlessly with LeaksProtect detectors. WaterStop is designed to be installed not only at home, but also in public places such as offices, cinemas, restaurants, or cafes: an additional bracket protects the device from being removed without tools, and a tamper allows you to notify if someone has removed the electrically operated module from the tap. Together with the overheating protection (the device can operate at ambient temperatures up to 60 °C) and use with water temperatures up to 120 °C, this makes Ajax WaterStop an important and reliable part of a smart home.
3 Reasons to Buy Ajax WaterStop
- You are building a new house or renovating an apartment
- You already have an Ajax system installed and want to increase the capabilities of the entire ecosystem
- You own a restaurant or cafe and want to reduce the risks of water leaks in your establishment
1 Reason Not to Buy Ajax WaterStop
- Ajax hub is required for the automation to work
What it is
The WaterStop water shut-off valve is one more device in the Ajax ecosystem, which has been developed by the company for several years and was officially presented in June 2023 along with other smart home devices during the Comfort Zone presentation. Together with the LeaksProtect detector, it creates a single "anti-flood" system.
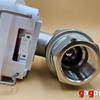
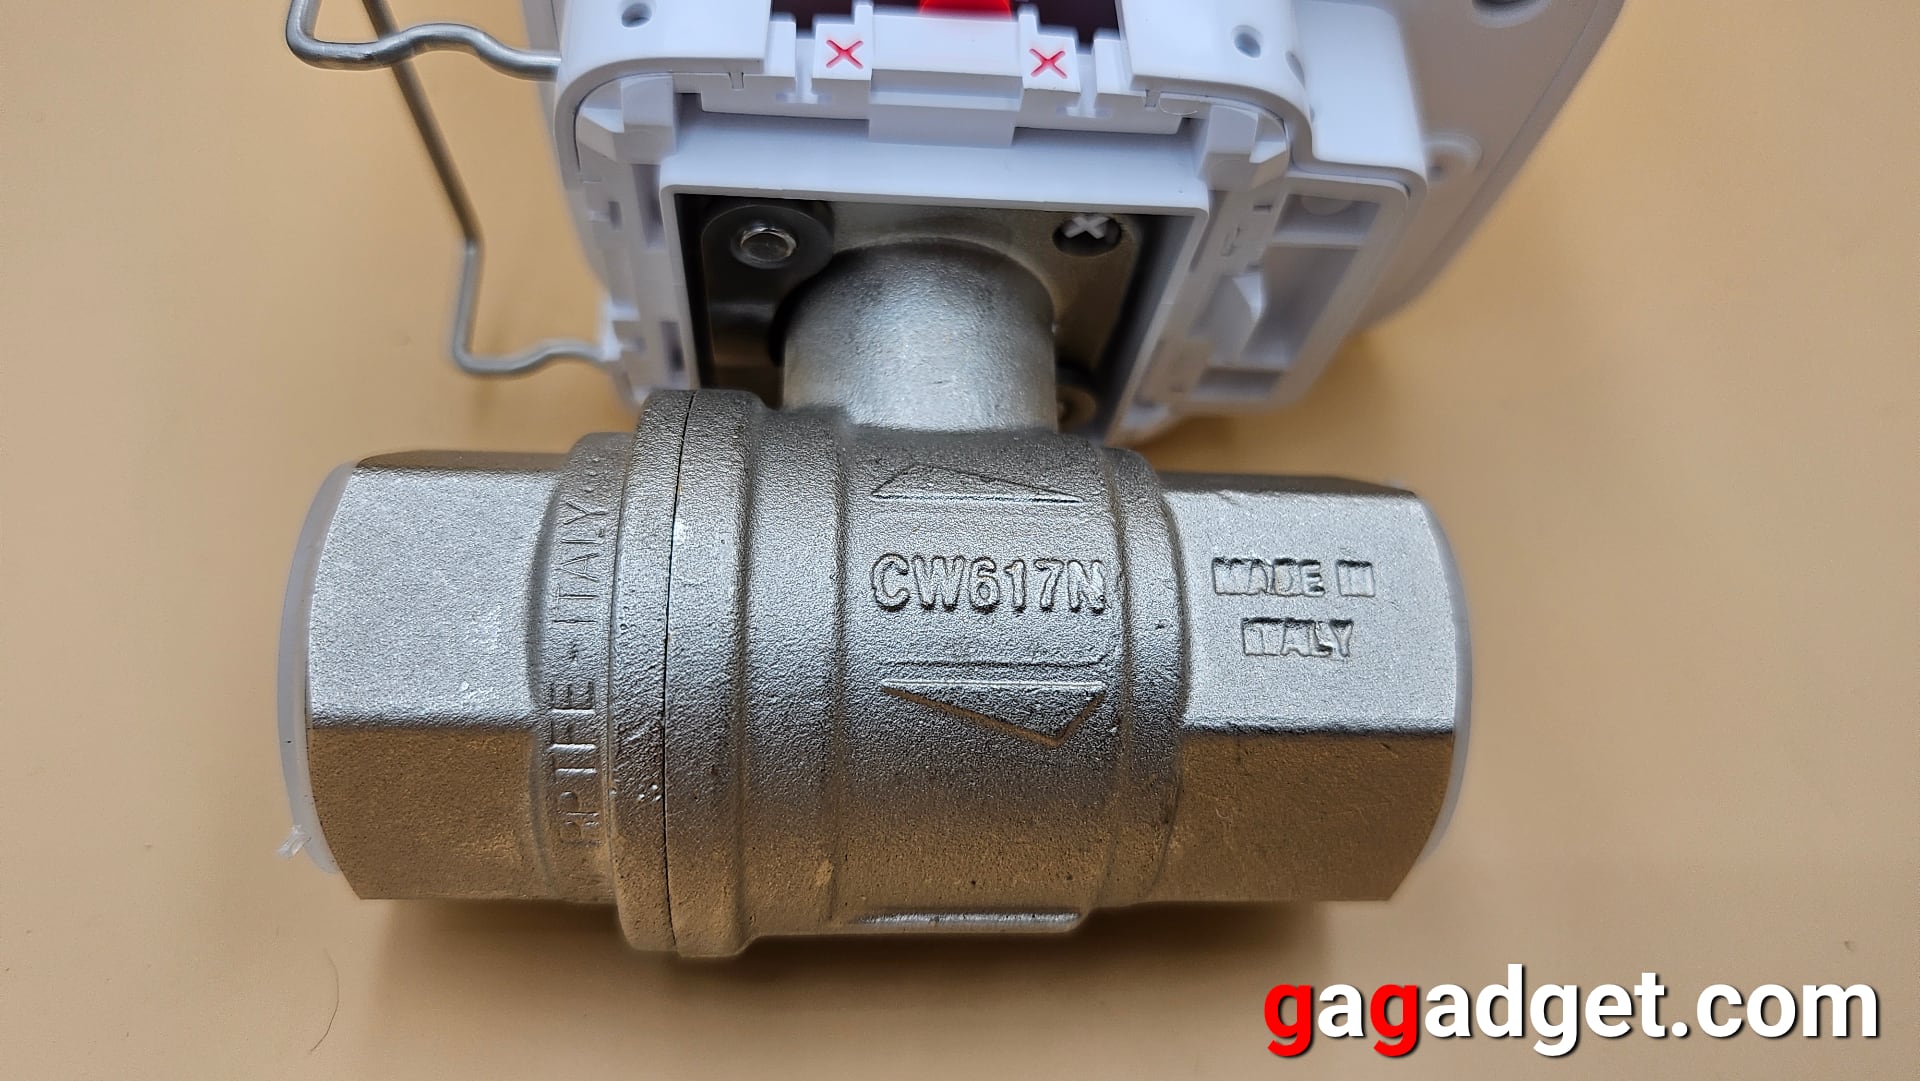
WaterStop uses the proprietary Jeweller wireless data transmission protocol, which provides encrypted communication at a distance of up to 1100 metres. The advantages of the device include ease of installation (the tap has an ISO 5211 flange) and the ability to shut off water in several ways. This can be a simple and primitive way - turning the lever with a locksmith's wrench. Or the use of an electric drive that can be triggered by simply pressing a single control button on the body. Or use the Ajax app, which allows you to set up various scenarios in addition to manual control.
WaterStop has two power sources: it can be installed with a 12-volt DC connection or a set of 4 CR123A batteries.
What's in the Box
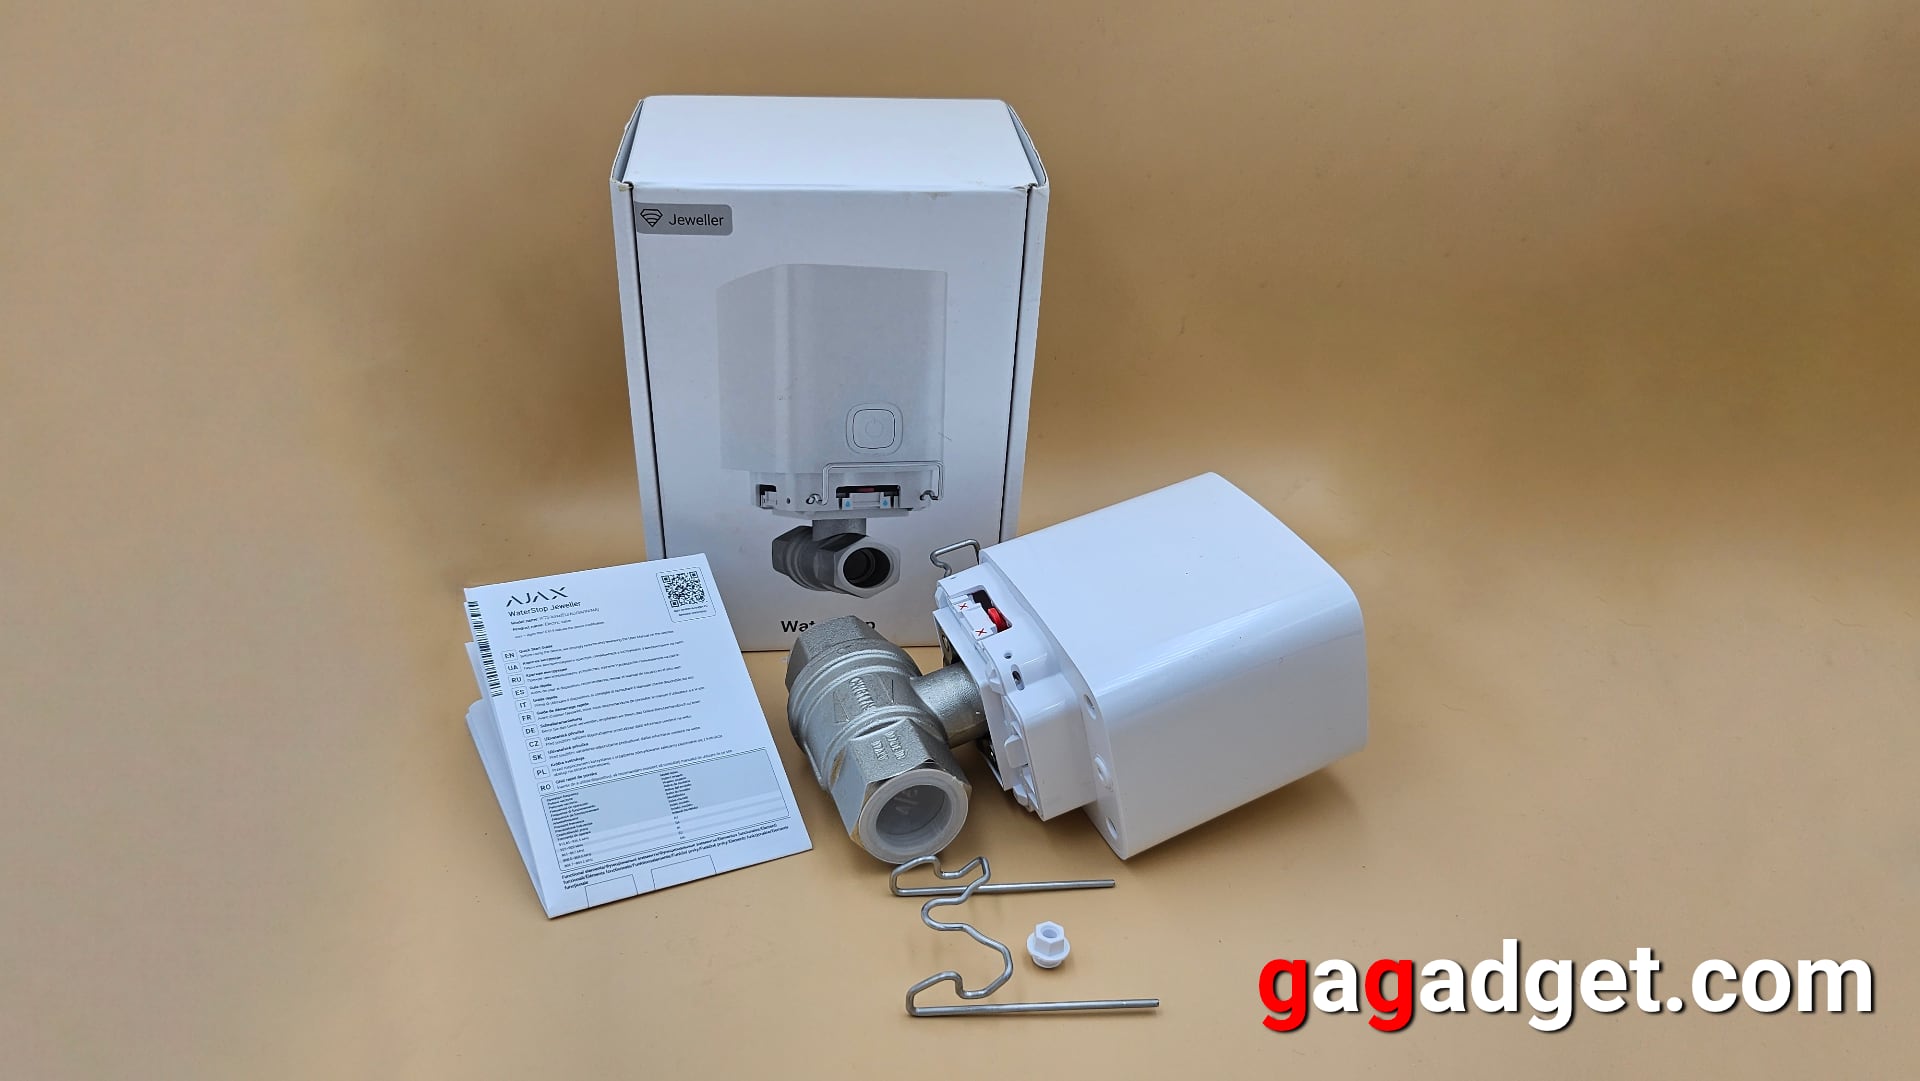
The WaterStop comes with a Bonomi Industries faucet that already has a module with an electric motor and batteries installed, an additional "anti-sabotage" mounting bracket, a part to replace the plug if the device is used with external power, and a manual whose meaning must be known by lawyers, because even my 100% vision, which I have never complained about in my life, could not read anything in it. In fact, it's not necessary, because all the instructions for WaterStop are available on the manufacturer's website. Although the installation of the tap is unlikely to raise questions for any plumber, you will also know how to configure everything if you read this text to the end.
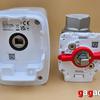
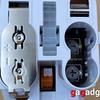
Like all other Ajax equipment, WaterStop is available in two universal colours: black and white.
Appearance: Inside and Outside
The first impressions of a new Ajax device are always about the same: materials nice to look at and to touch. Convenience and attention to the smallest detail. Of course, WaterStop is just a faucet that performs one simple function, so I didn't have any special expectations, but it's Ajax, so my impressions still exceeded what I had planned to see (who would have thought that a simple faucet could have so many details that the developers paid attention to). The outer plastic elements are polished, the inner ones are matte. I'm not a fan of polished surfaces in technology, but in this case, this solution seems logical.
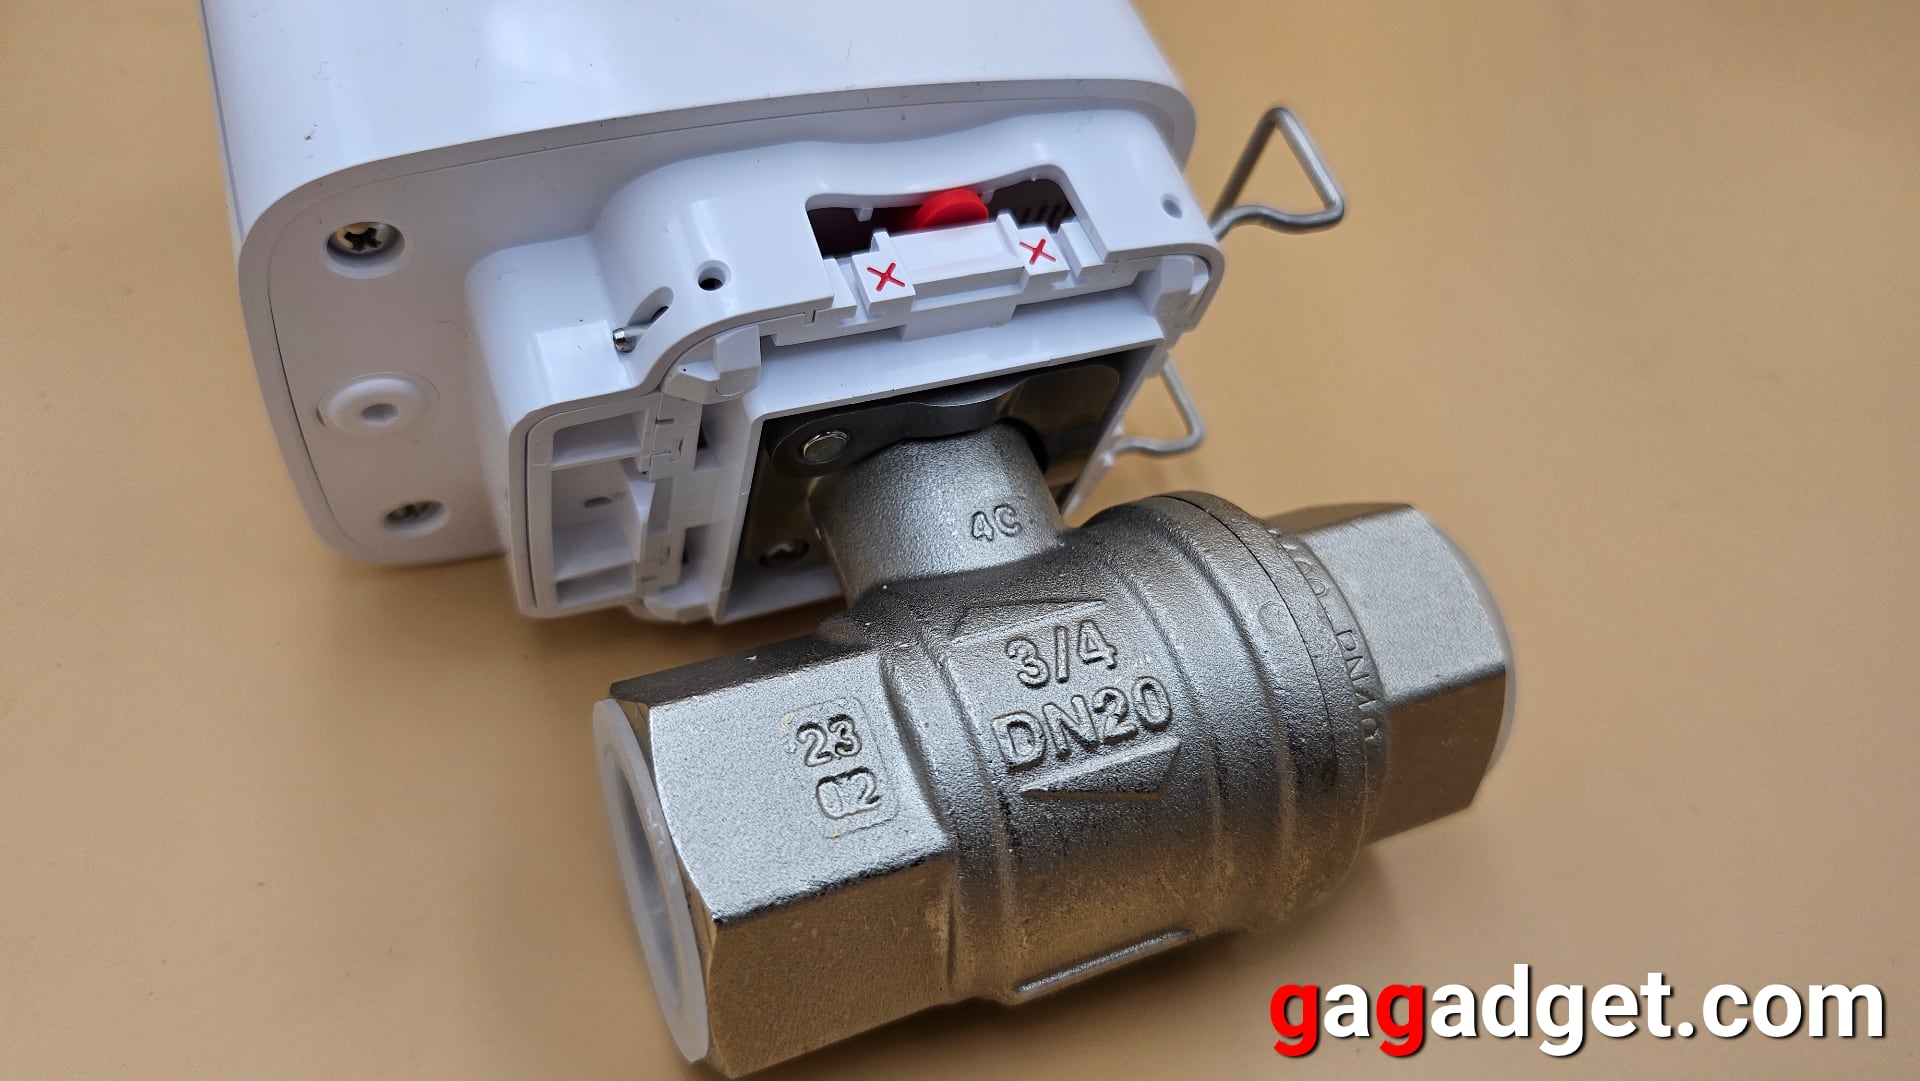
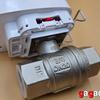
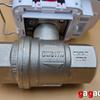
The unit with the drive can be installed in any of 4 ways relative to the pipe (conditionally, if you specify it as an angle between the body and the pipe in degrees - 0, 90, 190 and 270 degrees). In this case, you can leave free access only on one side - where the control button is located. On the same side, you need to pull the bracket that secures the drive module to the brass tap. There is a visual control of the shut-off - red markers turn with the lever and indicate whether the water is shut off (red crosses on the panel) or vice versa (green dashes). Everything is well thought out and intuitive.
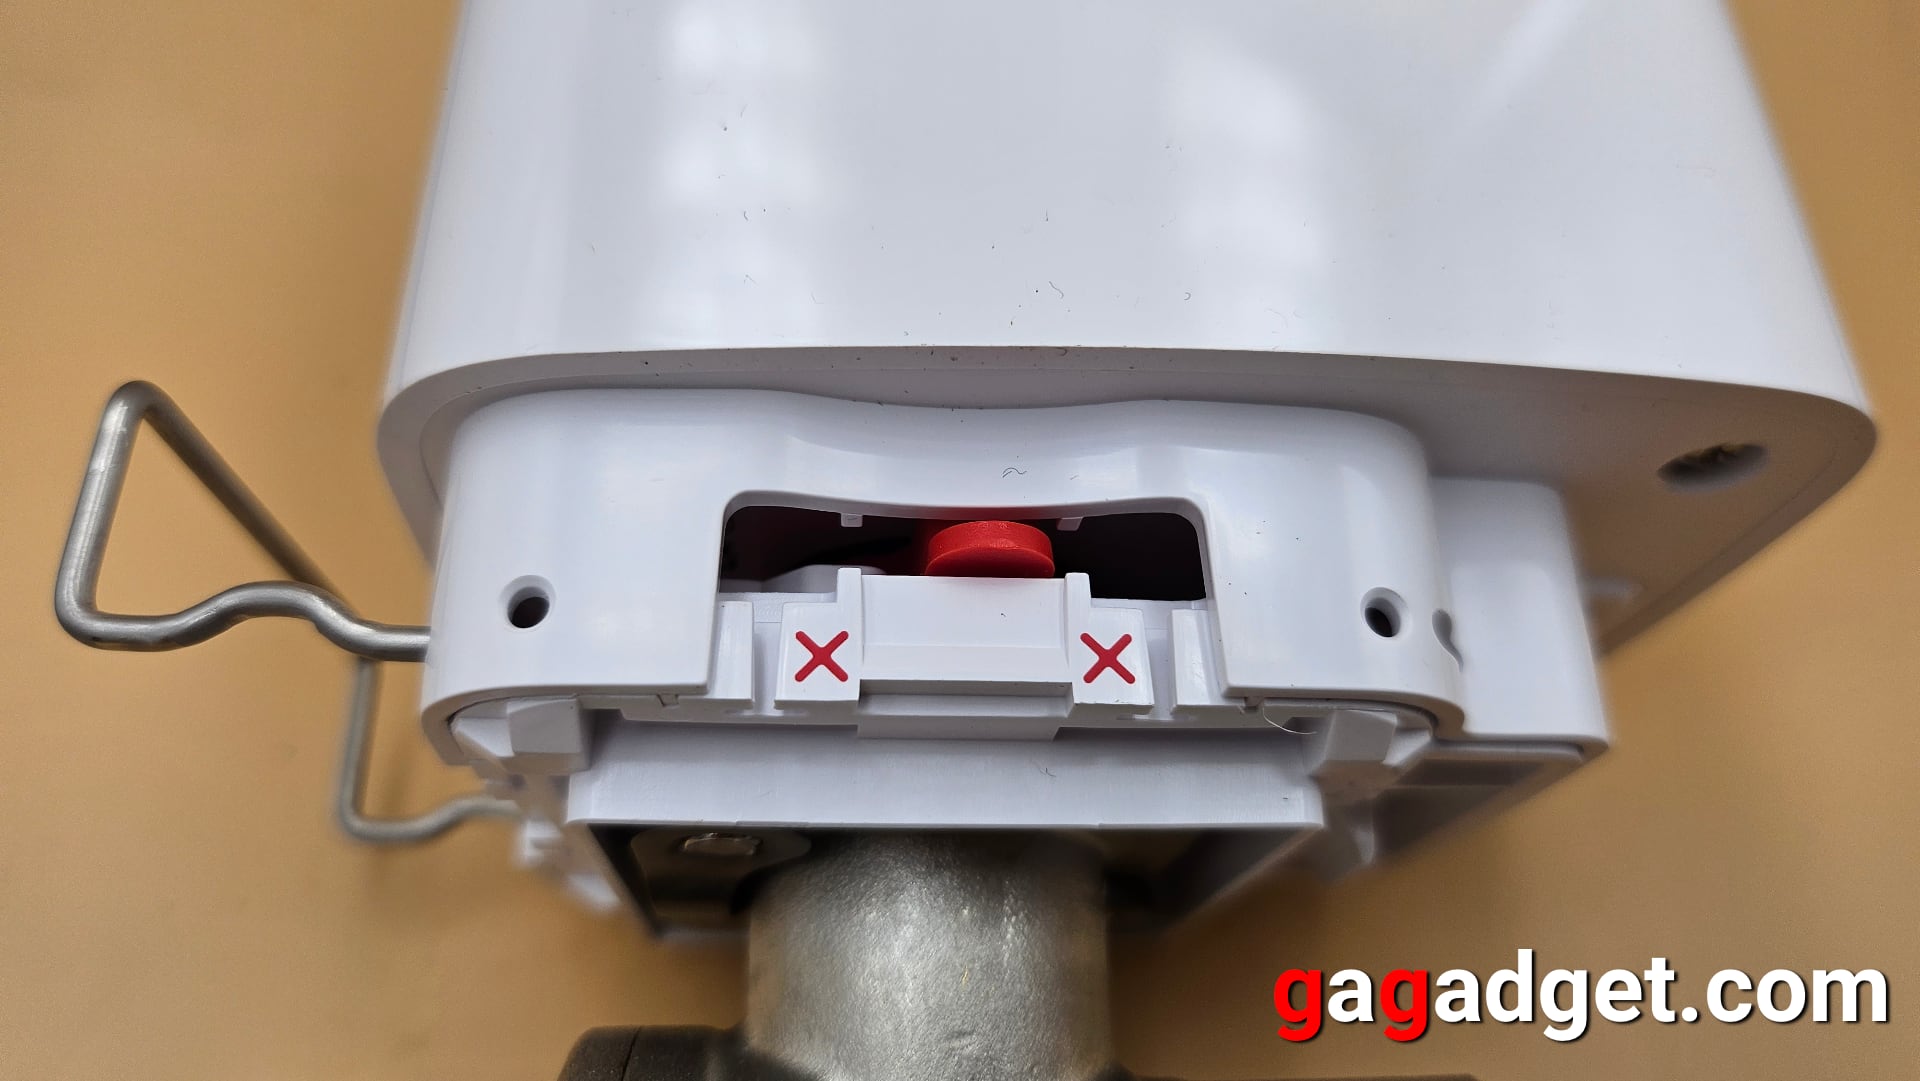
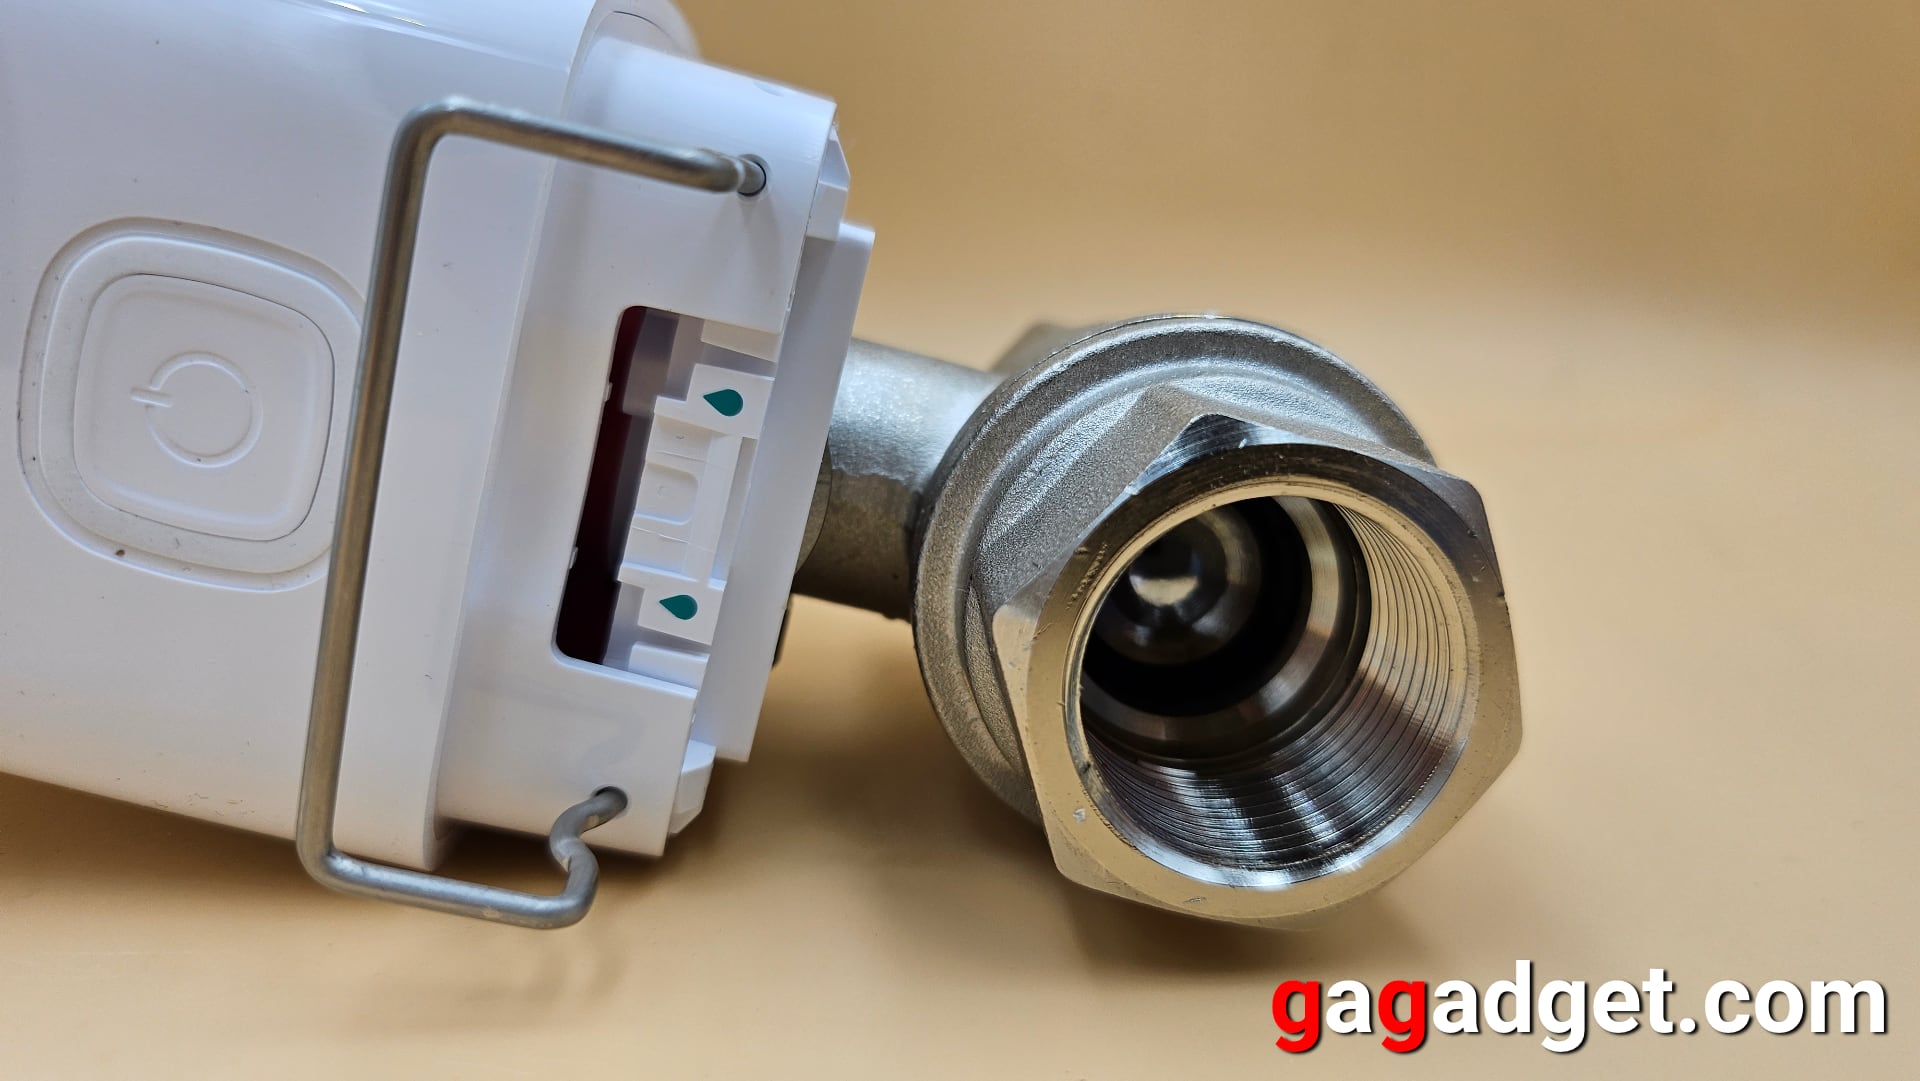
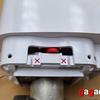
The unit with the electric drive and batteries is very easy to remove - just pull out the bracket. (It is also easy to put it back in, you do not need instructions). In the photo below, you can see that the red part has two petals - to show the overlap of the tap on both sides and to be equally easy to use in any version of the drive installation. If you do not see the red element in the box with the crosses, it means that it is on the other side, and the tap is open for water. Conversely, if there is no red marker in the box with green dashes, the water is shut off. So it doesn't matter which way the drive module is facing you - you will always understand the status of the tap.
Pay attention to the button in the lower right corner, under the lever connector. This is a tamper - it allows you to understand that the body of the WaterStop has been removed and sends a notification to the user's app and to the monitoring company, if it is a business application.


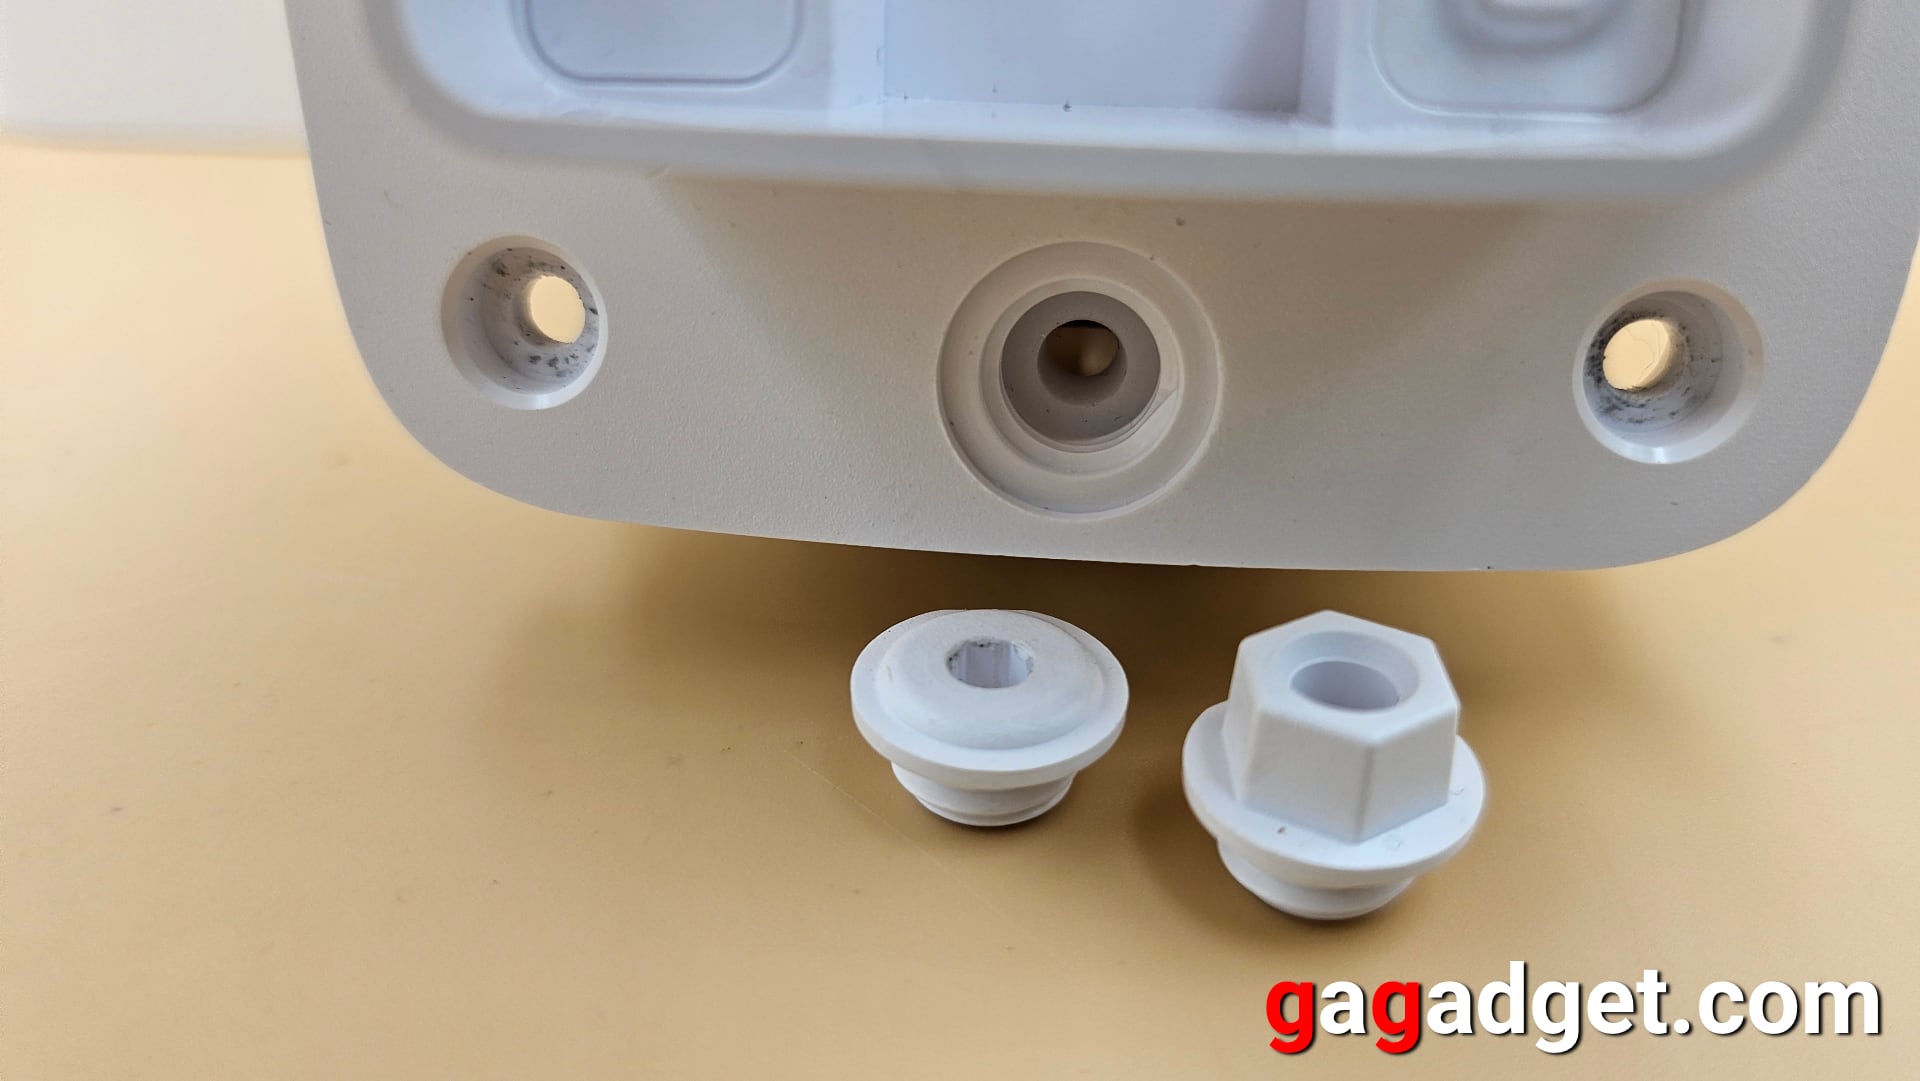
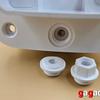
It's worth noting that Bonomi Industries is a family-owned company from Italy that has a history dating back to 1954. It is a responsible and world-renowned manufacturer of sanitary equipment. The faucet used in WaterStop is available in three versions, which differ in the diameter of the pipe on which they are installed: ½" (DN 15), ¾" (DN 20) and 1" (DN 25). I had a version with a diameter of ¾ inch, as plumbers used just such pipes to install the water supply in the apartment. Another attention to detail is that the tap is supplied closed on both sides with plastic plugs.
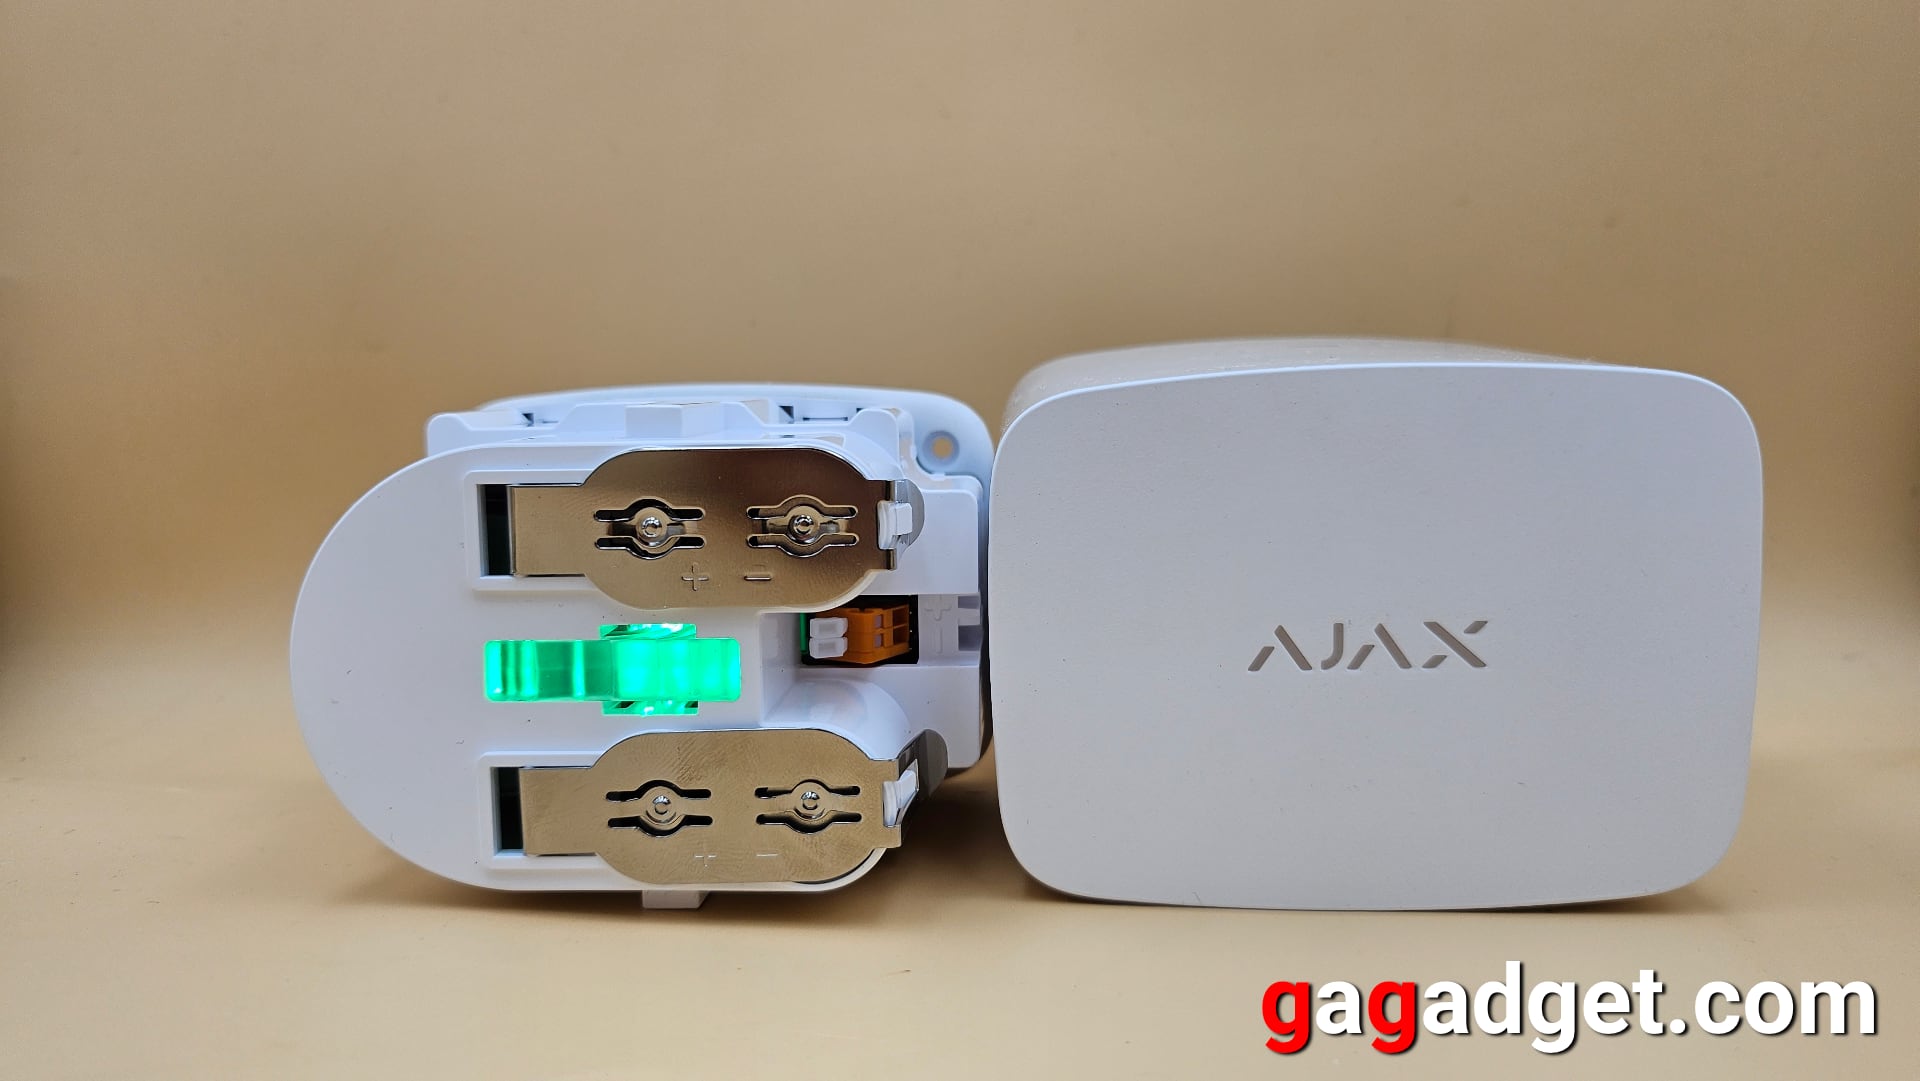
But to get to the battery replacement (Ajax indicates that the electric drive operates on batteries for up to 3 years), you need to unscrew 4 screws. And then you need to hook the metal brackets (they have a convenient bend at the end) and pull them up to free up access to the batteries. It's just a small thing - the polarity is not just written on the device, it's embossed on the metal. But when I looked into the battery compartment, I saw the polarity indications there as well - on special white plastic elements located under the springs. This is the highest level of usability that can be created in this case. Everything is done to minimise mistakes on the part of the user.


Since I planned to connect the WaterStop to an external power supply right away, I squeezed out the plug and replaced it with the appropriate element from the delivery set. Now it is part of the cable entry tunnel. Also note the polarity marking for the DC connection (under the orange connector).


There is an LED between the metal plates that secure the batteries. It indicates the operating status of the device. And it creates this effect of illuminating the manufacturer's logo.


In general, if you use only batteries for power supply, then everything can be done without any additional tools, just with your hands. So far, everything has been too simple, although the device is simple, designed for one function. Perhaps I will need a manual to set up and connect it? After all, for some reason, the manufacturer insists on professional installation of the system and its components by official partners and Ajax installation engineers... That's to "ensure proper setup and efficient operation of all devices". Although I have not yet seen even a hint of potential difficulties. But I didn't plan to install the crane myself either.
Connecting and Setting Up
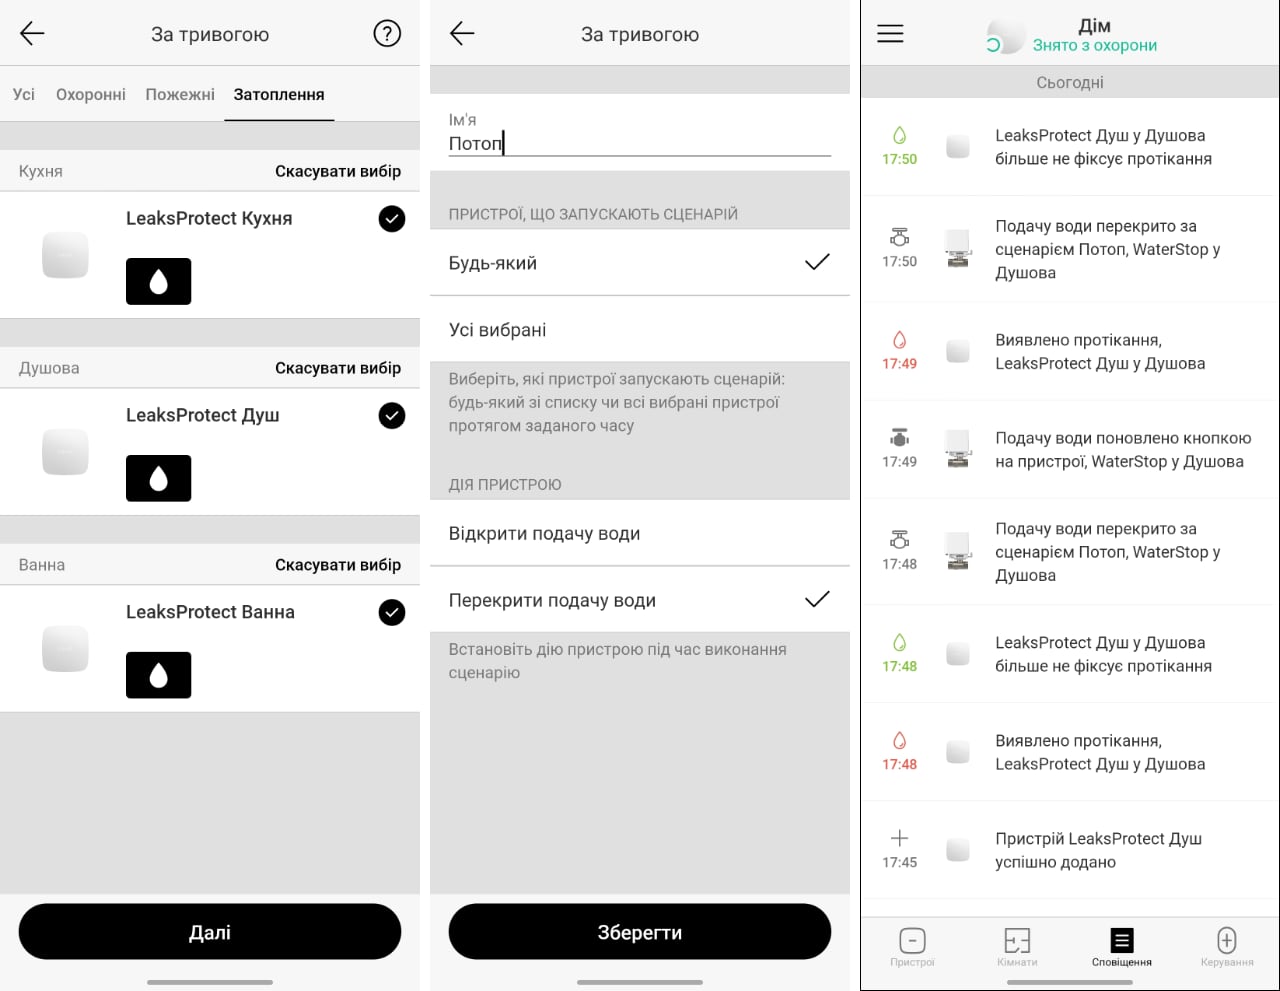
As we all like, I decided to do everything without reading any instructions at first. First, I launched the Ajax app and chose to add a new device to the system. After scanning the QR code, my Hub 2 Plus control panel immediately informed me that the device was new and therefore needed to be updated. While I was searching in the app to download the update, the central unit informed me that the update had already been downloaded and was being installed. After rebooting the hub, WaterStop was added to the list of devices. Its settings turned out to be simple: you can block the device button (for example, if WaterStop is installed somewhere in a public place to prevent curious visitors from playing), and turn off the LED indication. You can also see the statuses of the Jeweller signal strength, battery charge, water shut-off status, external power supply, and tamper status (whether the lid is removed or not).

The most interesting thing, of course, is the automation scenarios. There are 4 of them: by alarm, schedule, temperature, and security mode change. The manufacturer recommends opening/closing the tap from time to time, for example, weekly (depending on the water quality). This is to keep the tap in working order and prevent it from blocking, so it makes sense to create such a scenario on a schedule. In general, you can create many more scenarios if you have other devices in the Ajax ecosystem: switches, air quality sensors, buttons, etc. The value of the ecosystem increases with the advent of each new device and opens up space for a wide variety of use cases that users can come up with.

Of course, the most important thing for which WaterStop is needed is the scenario of shutting down by alarm (signal from the LeaksProtect detector). I don't really understand the point of opening the water supply when the leak detector is triggered, but it is there. Of course, my scenario (the main one for the WaterStop user, as I think) is to shut off the water.
It's a bit strange, but I didn't need the manual. Although, in the case of Ajax, my experience has just confirmed that I should have expected that the manual would not be needed (that's probably why they print it in such a small font to save paper). It's time to start testing!
Ajax WaterStop Dry Test
First, I tried the simplest way to shut off the water - by pressing a single button. The electric actuator has a declared power of 8.2 Newtons. I was also just curious to see how the ball valve works. As you can see in the video, everything works exactly as it should. You can even hear the distinctive sound of the motor humming in the video.
Ajax WaterStop Leakage Test
But it was interesting to check the operation of the automation. The manufacturer claims that the water is shut off in 5 seconds. As you can see, even if you count from the moment a drop of water hits the LeaksProtect sensor contacts until the engine stops, it takes 8-9 seconds. If you count the engine running time, you get 5 seconds, which means that the declared capability is true.
Once LeaksProtect no longer detects a leak and sends a notification to the app, WaterStop does not open the tap automatically. Flooding is such a disaster that, given the pressure in the pipes of 2-4 atmospheres, can flood up to 3 floors in an hour. Therefore, it is logical to turn on the tap only after the on-site technician has made sure that the problem has been fixed.
This is the end of the tests, and it's time to hand the crane over to specialists for installation and further operation in working conditions. But for the well-thought-out design and the complete absence of even a hint of problems with the operation (usually we are all tolerant of some minor problems with new products, but here there were none at all), I cannot but award this device with the highest editorial award, "Editor's Choice".

5 Things to Know about Ajax WaterStop
- It is a remote-controlled water shut-off tap in the Ajax ecosystem
- It uses the Bonomi tap and can be installed on similar taps with an ISO 5211 flange
- WaterStop has its own power supply and can be connected to the house power grid
- Easy to install and vandal-proof, which makes it suitable for use in restaurants, cafes, etc.
- Together with leakage detectors, LeaksProtect allows you to automatically shut off water using Ajax scenarios

Co-founder and editor-in-chief of gagadget.com. Graduated from the Journalism Department of Kyiv National University in 1998. I made my first publications in mass media in my school years (there were still newspapers then). Observed the evolution of smartphones in the front row since Nokia 7650 on Symbian. Since 2002 he has specialized in the topic of smartphones, mobile communications and analysis of the development of the consumer electronics market.