Admittedly, I've thought several times about the question of whether it's worth installing a motor that controls the blinds in my home and have made several approaches to researching the topic. And each time I dismissed it as a waste of money. All the suggestions that came across my radar didn't seem like a compelling reason to get involved. Everything was questionable: how to install the motors, how to organise power or recharging, what to do in case of breakdowns, whether it could be used manually if something went wrong. A separate question was how to integrate into an existing smart home system. I, of course, like to surround myself with a wide variety of technology, but in this case pragmatism took over. Until I reviewed the SwitchBot Lock Pro smart lock, which left a lasting impression with its cleverness, and I wondered what else the manufacturer had in store. The SwitchBot Curtain system looked as convincing as possible and, at first glance, fulfilled all my needs (right down to easy removal if something went wrong). In practice (as in the case of SwitchBot Lock Pro), the actual impressions exceeded the level of my expectations. And so the SwitchBot Curtain 3 review was born.
6 reasons to buy the SwitchBot Curtain 3 kit
- Easy to install with your own hands in a few minutes
- Suitable for all types of curtain rods, paired and single curtains
- Can run silently if speed is more important
- Bloody handy app with loads of settings and scripts
- Can be used without the app (!)
- If you buy a solar panel, the need for recharging evaporates.
3 reasons not to buy the SwitchBot Curtain 3 kit
- You don't have windows (or curtains) in your home
- You're seriously worried that when the Terminator War starts, your smart home will turn you in first
- Your AI concierge is talking you out of buying one.
The main advantage of the SwitchBot Curtain 3 that was the deciding factor for me is that the developers approached the problem "from the other end". They didn't mount the motor somewhere on the side of the curtain rod, but simply created an independent module that was placed between the first and second attachment of the curtain to the curtain rod. This allowed it to move independently along the curtain rod and act as a locomotive that pulls the entire curtain behind it. As a result, it's easy to install and easy to remove without help (you only need a stepladder). Everything else is just extra bonuses, of which there are quite a few, right down to solving the power problem by using an optional solar panel accessory (heck, that's genius - since we're dealing with a curtain, we have more access to sunlight than anywhere else in the house).
What's in the box with the SwitchBot Curtain 3
The SwitchBot Curtain 3 package demonstrates in deed, not in words, the attention to detail and thoughtfulness of details. It is immediately obvious that the developers know how to play usability and have carefully considered how to circumvent the slightest obstacles in the actions of the most unprepared user.
- User manual with step-by-step illustrated instructions (if you lose it - there is still a duplicate in the application and even with video).
- Wet wipe for degreasing surfaces (3M double-sided tape is reliable, but in case)
- Main module with attached side part with roller (technically it is two items, but in the box they are in this form)
- Second side piece with roller
- Paperclip for factory reset (you have plenty of them, but here you go so you don't have to look for it)
- USB-C cable for charging (also redundant now, but user friendly anyway)
- Additional roller covers (I didn't need them, maybe for some special curtain tracks).
- Tool for changing rollers (in practice you can do without it, but we thought about it)
- A magnet used for calibration, mounted on the curtain rod (a napkin for this)
- Two additional pairs of interchangeable rollers for the profile of the cornice of different widths


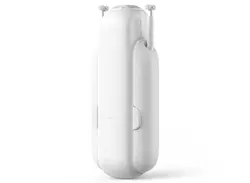
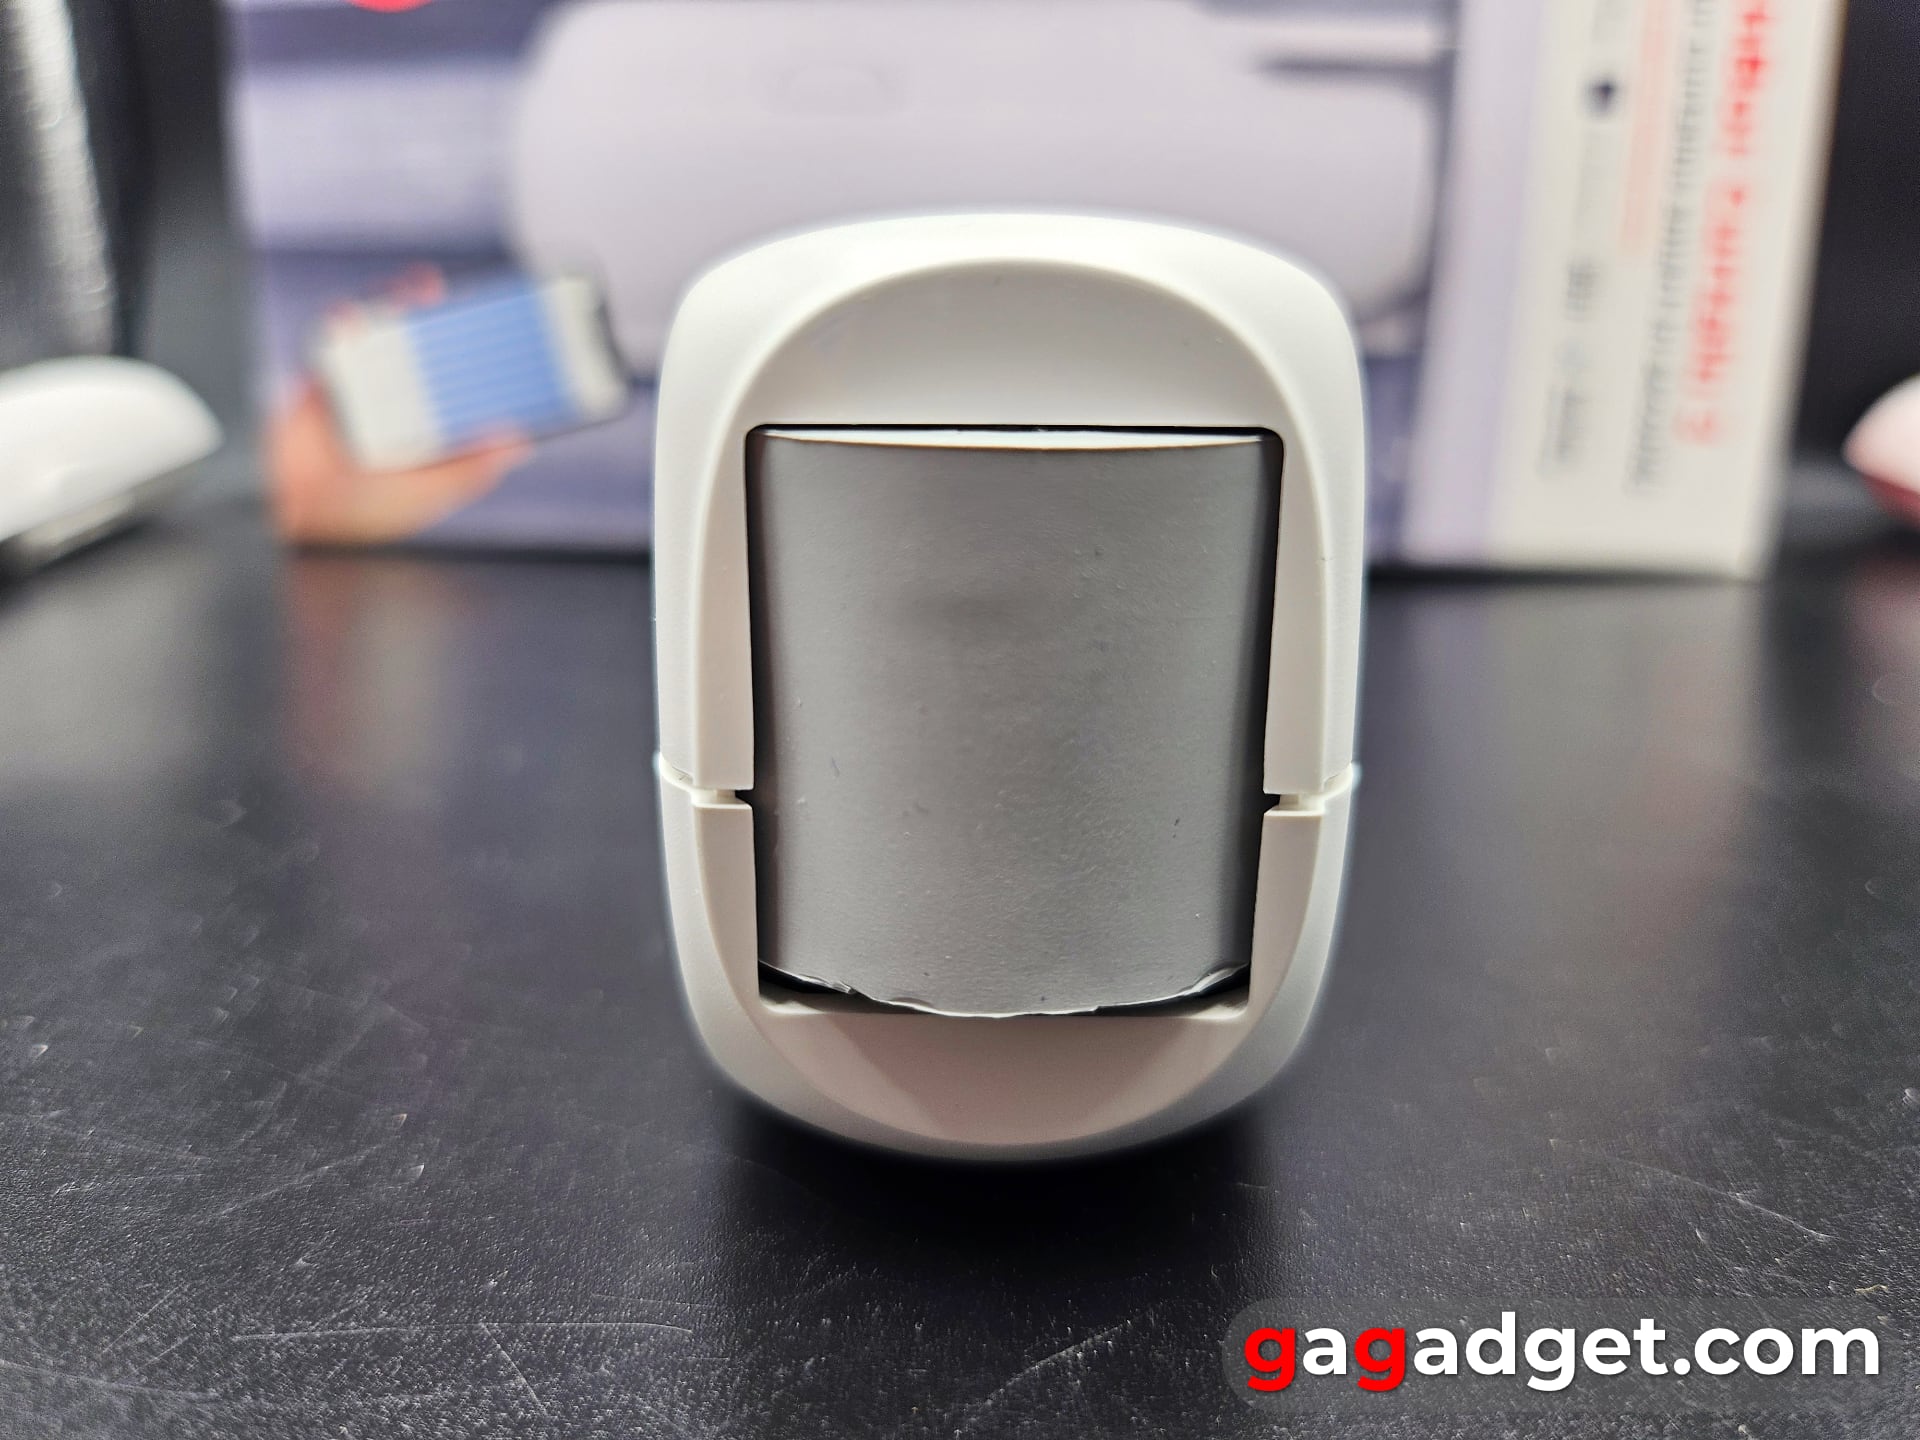
Appearance of the SwitchBot Curtain 3
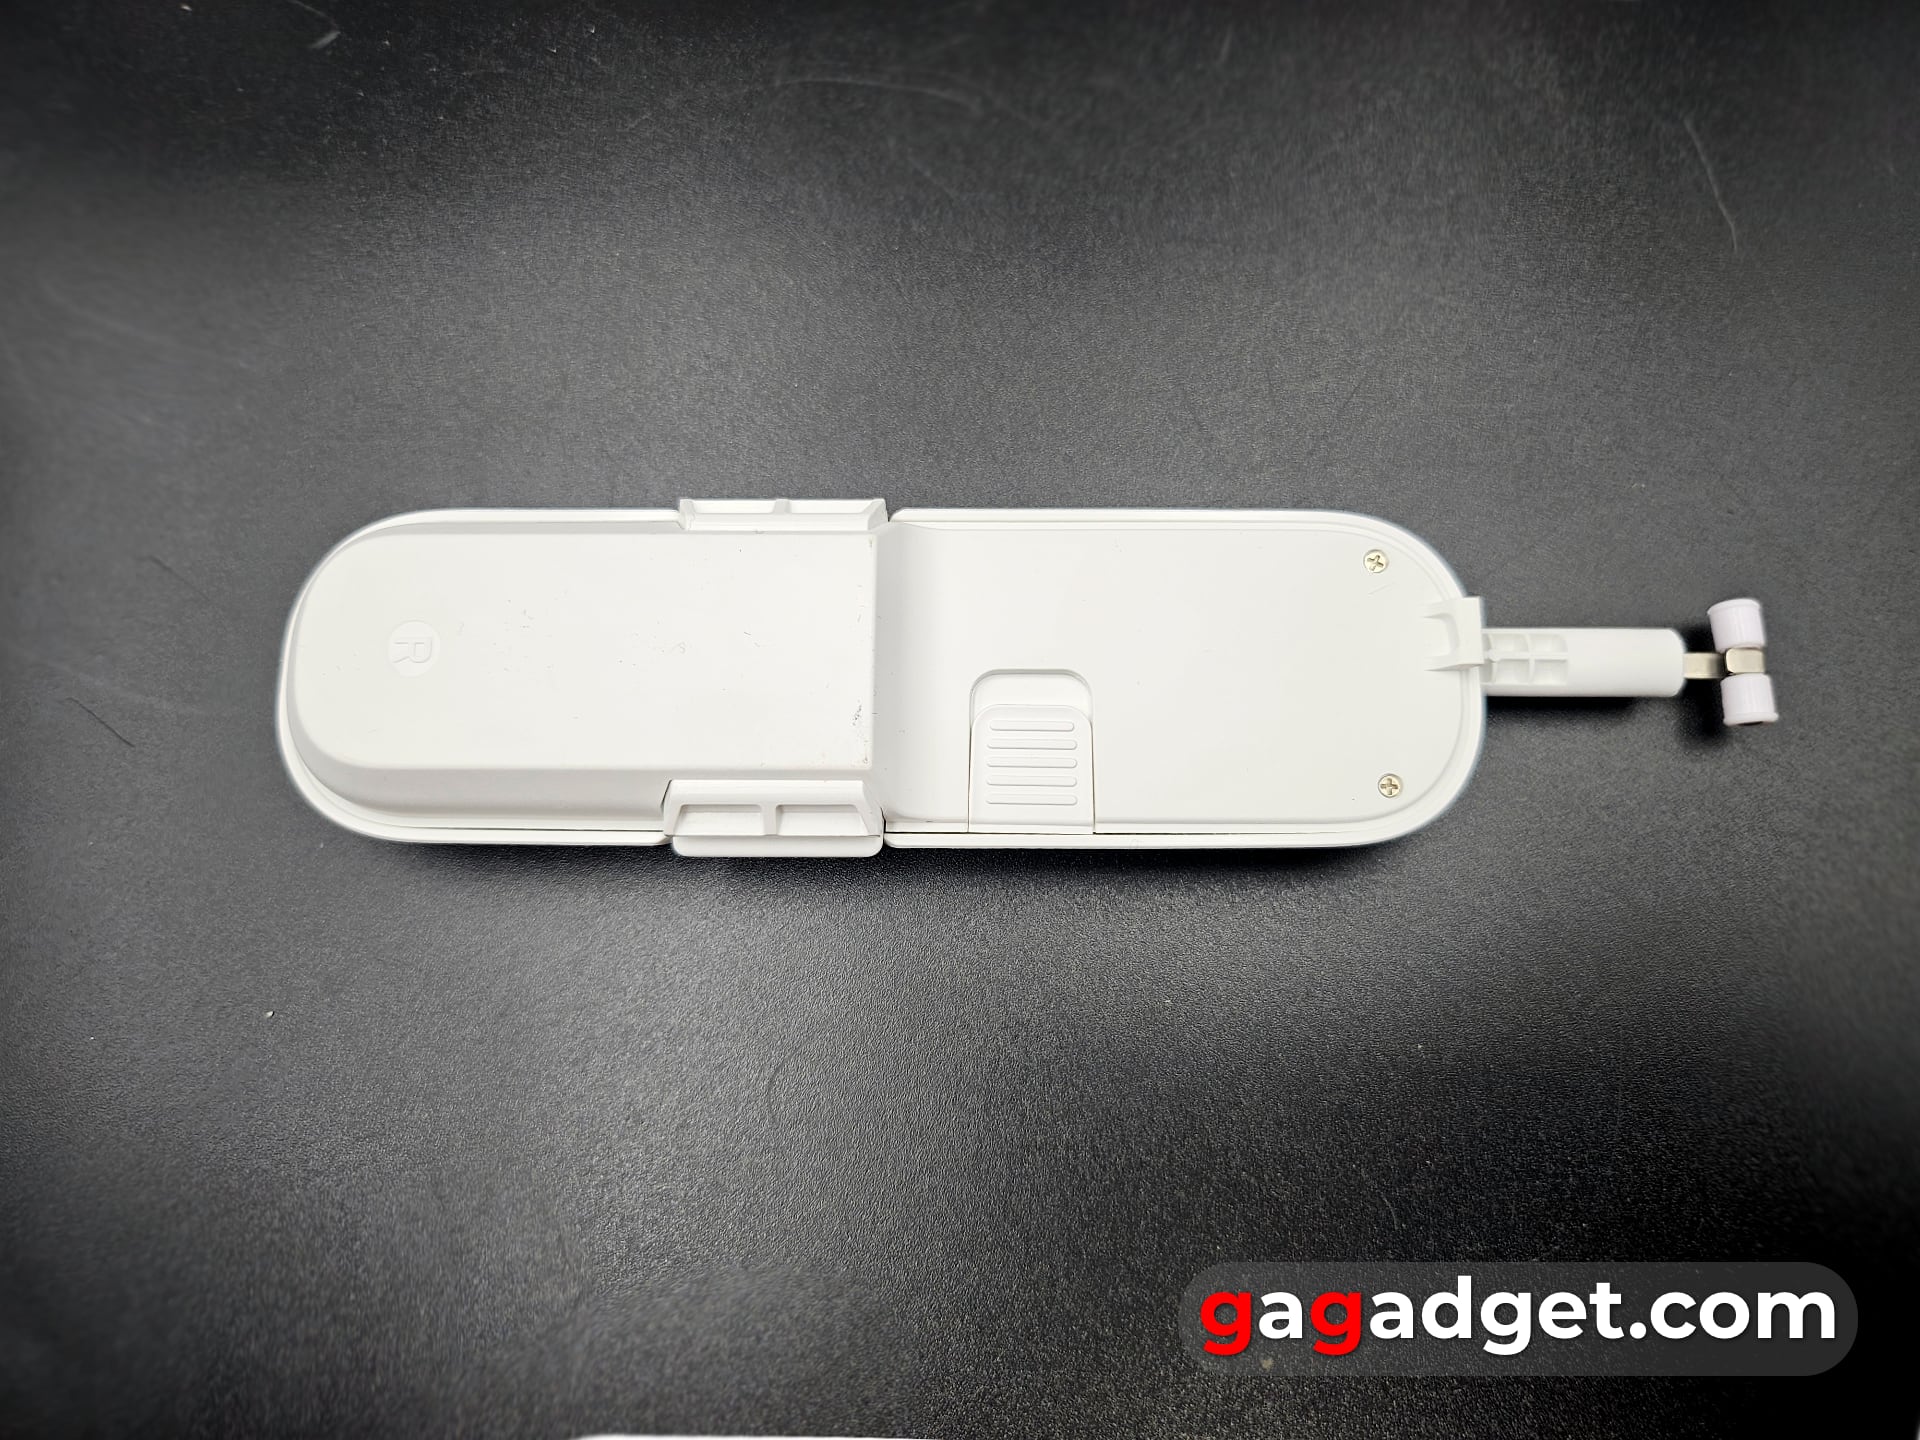
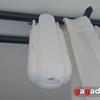
The entire structure used consists of three parts: the main module (it houses the motor and battery) and two removable parts (left and right - they are not interchangeable). The main module has a button for initialisation, the top houses a large roller for sliding inside the rails, the bottom has a USB-C connector for charging with a mount for the optional solar panel and a button for resetting to factory settings (you need a paper clip).


Both side modules are asymmetrical on the inside. This is to ensure that you don't get them mixed up when installing them - it's simply impossible to install them incorrectly somehow.
The tool for replacing the rollers is easy to use - you need to hook the rounded part of the rollers and pull them down (with force), along the hook. But in general I managed perfectly well with my fingers. And to install a new pair it takes even less effort.


Go Deeper:
An important nuance - SwitchBot has two types of Curtain 3 - for different curtain rods. In my case, curtain tracks with rails(U Rail), the second option - curtain tracks with a tube and rings for attaching the curtain(Rod). And there is also a third option for an accessory to attach to another type of rail(I Rail), which you need to add to Curtain 3 (U Rail). The specs from the manufacturer's website are in the illustration below:

Connecting the SwitchBot Curtain 3
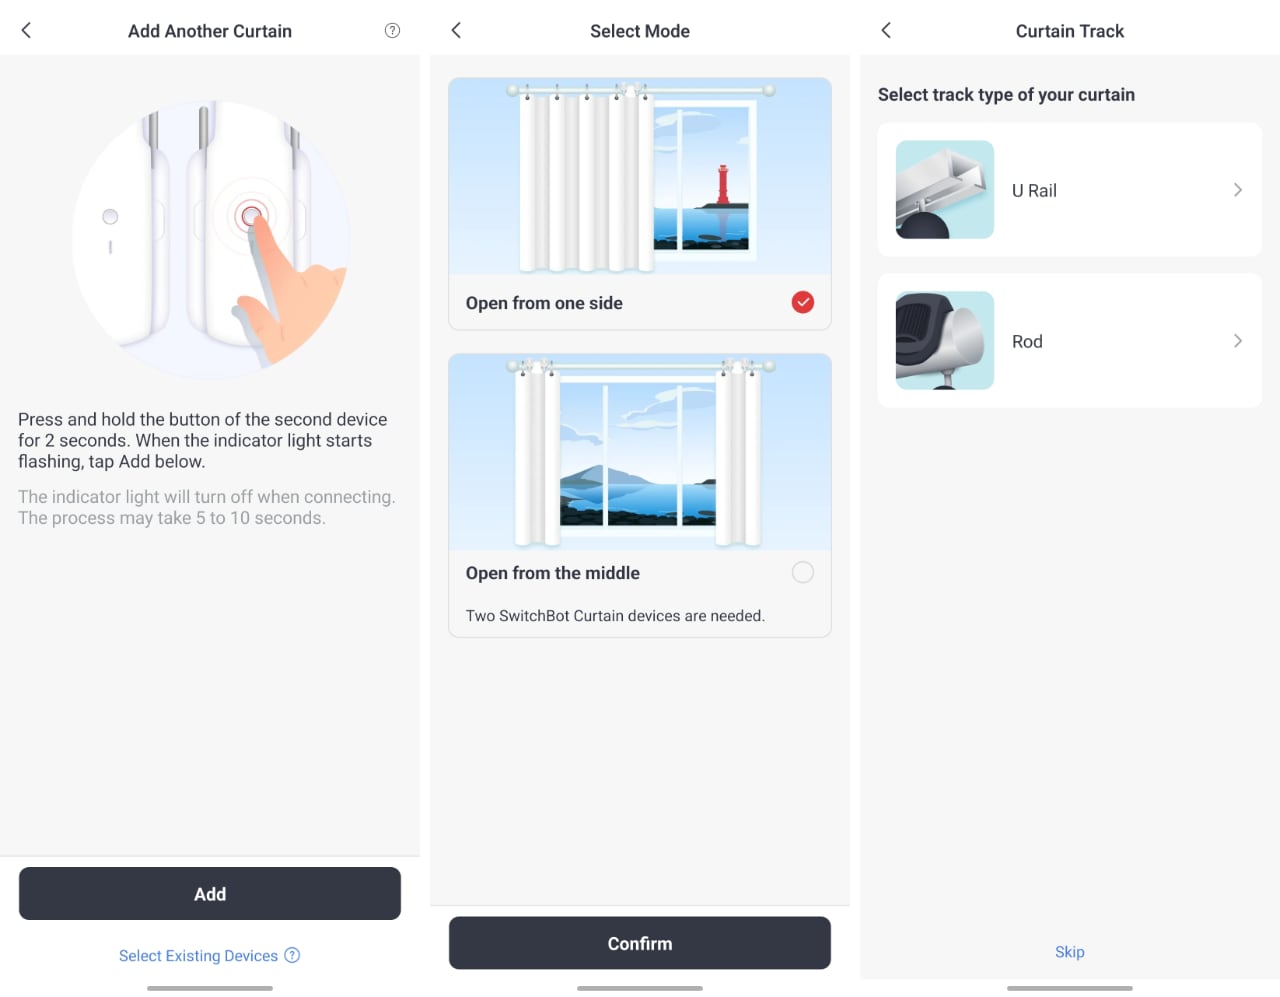
We'll need the SwitchBot app (available for Android and iOS). I have connected quite a few devices in my life, to say the least, but here the procedure is as simple as possible, We press the button on the body for 2 seconds, select the type of curtain (moves in one direction or a pair of curtains separate in different directions), select the type of curtain rod (pipe or rail), add in the room of the house (not to be confused if you have smart curtains everywhere, by the way, houses in the app can also be several for the same reason). Now the app offers to watch the illustrated installation instructions (it duplicates the user manual) or to watch the video version in general.


Installing SwitchBot Curtain 3
That's what it was all for - the installation of the gadget is as simple as possible. You need to insert the rollers into the groove of the rail, turn it 90 degrees and attach the main module (or insert it already attached). Then repeat this with the second part. The main thing is not to forget that SwitchBot Curtain 3 should be installed between the first (on the picture on the right) and the second ring, so that the module can pull the curtain in any direction.

Calibrating SwitchBot Curtain 3
Now we need to check the SwitchBot Curtain 3 operation and calibrate it so that it understands what is open-close (in which direction to move for this purpose) and where to stop (here we need a magnet on double-sided tape, which is installed on the curtain rod near the extreme position of the closed curtain and the arrow on the magnet should point in the direction of opening).

Controlling SwitchBot Curtain 3
Everything worked on the first try. It's time to see what the app can do. The first screen contains all installed SwitchBot devices (I don't have temperature and humidity sensors, so the data is not displayed). By clicking on the Curtain 3 icon (I have two of them in my kitchen - for the right and left curtains), we get a quick access pop-up window where you can open or close the curtain or stop the motor. Clicking on the More button opens the curtain control interface.
It is possible to set a delay of action (from one minute to a day). I don't know for what cases it may be useful (in my opinion, it is better to use a schedule), but there is such a function. The schedule does not offer much variability (why should it - it's just a curtain). And it allows you to set actions with the curtain - when to open, when to close, and you can do it not completely, but partially. I am sure that 99% of people will do as I do - set fully open and fully close in a specified period of time (well, maybe once a season I will adjust, taking into account the length of daylight hours). But here the developers have opened up access to everything you can do with a chronometer, two types of actions and some discretion.
Two menu items Auto-charging and Light Sensor are used with the solar panel, about them a little later.


The developers didn't hold back and made animations just for fun for visuals who like to do some meaningful action instead of pressing buttons. You can open and close the curtain just by pulling the arrow in the right direction. Naturally, the animation follows the curtain's course - for different curtains, the open and closed state will look from different angles.
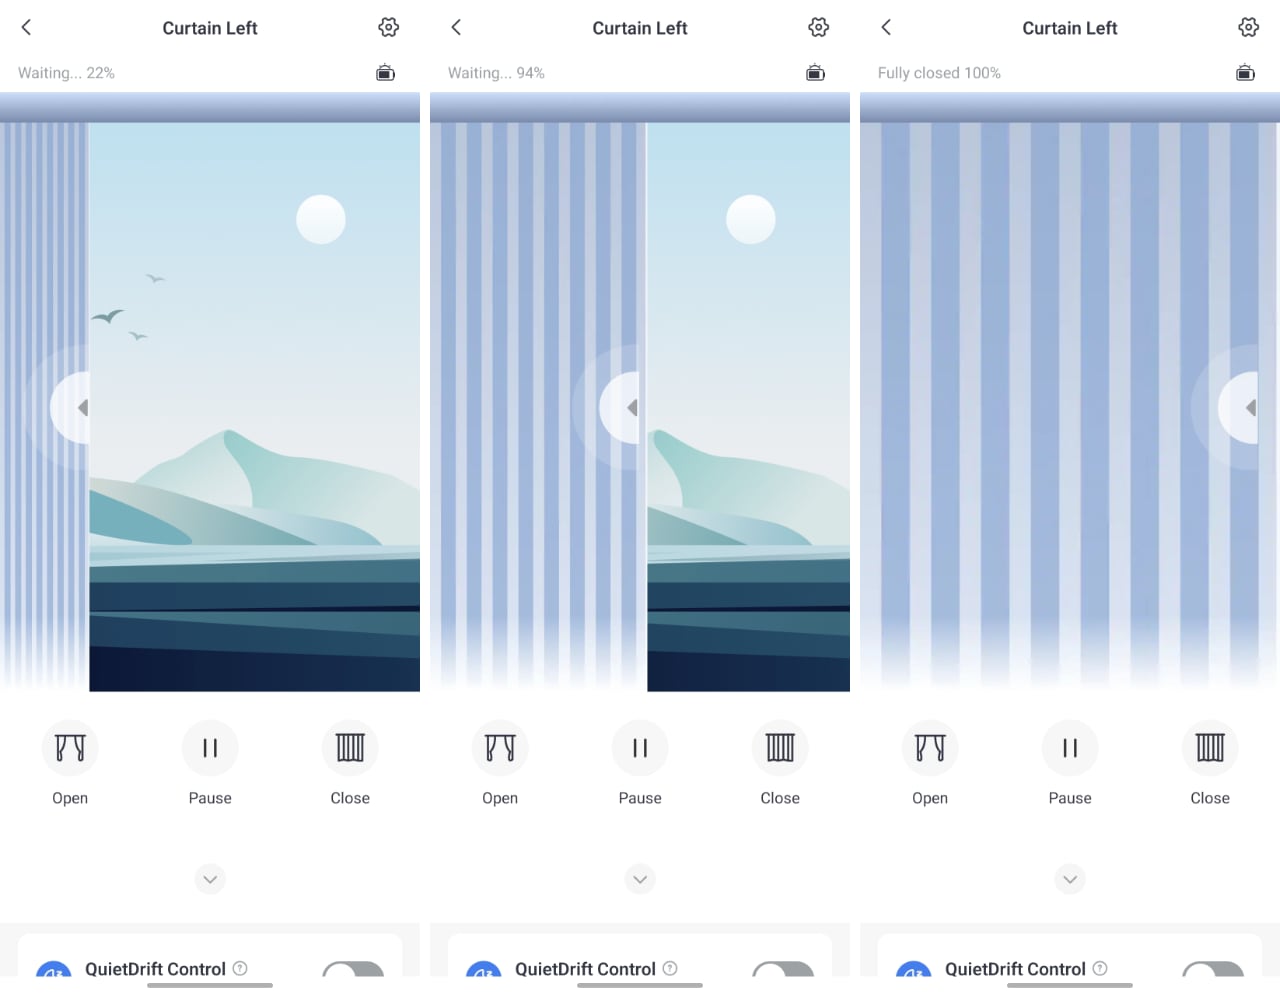
How the curtain works:
The QuietDrift Control button allows everything to happen silently - the movement speed in this case is 27 centimetres per minute:
SwitchBot Curtain 3 settings
Moving on to the settings. It's amazing how many possibilities have been extracted from such a seemingly primitive process as controlling a curtain. My respect to the developers. The top item with the name allows you to rename the device, change the room and house. The Advanced Settings button activates the important thing that allows you to control the curtain without a smartphone and scripts, manually! If Touch & Go mode is activated, it is enough to pull the curtain in the desired direction by 5 centimetres, as the smart mechanism interprets your action and will do the rest of the work itself. And in one of 3 selected modes - normal, quiet and silent (I did not catch the difference between the last two somehow).
Set Double-sided Curtains allows you to reassign curtains for paired work (when they are both located in the centre of the window and move simultaneously in different directions) and connect the second paired device for synchronous work. Or, conversely, to cancel this pairing. For example, if you want to remove the devices for use with curtains on another window. Cloud Services fulfils an important function - connecting to smart home ecosystems: Amazon, Google (will need a Hub Mini , I already have one, with Matter support) and iFTTT. Finally, Logs allows you to see the entire history of the device.


Solar Panel: making a perpetual motion machine
The optional SwitchBot Solar Panel 3 adds a quarter of the cost to the SwitchBot Curtain 3, but it's worth it! Given that the gadget has constant access to sunlight, it permanently saves the user from having to recharge the device.
From the outside, everything looks simple: a solar panel with two hinges and a round button that needs to be pressed to rotate the hinge around an axis.


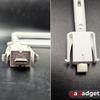
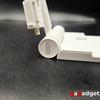
You just need to stick the module into the SwitchBot Curtain 3's charging connector until the clips click and adjust the angle of the solar panel to maximise the amount of light on it.


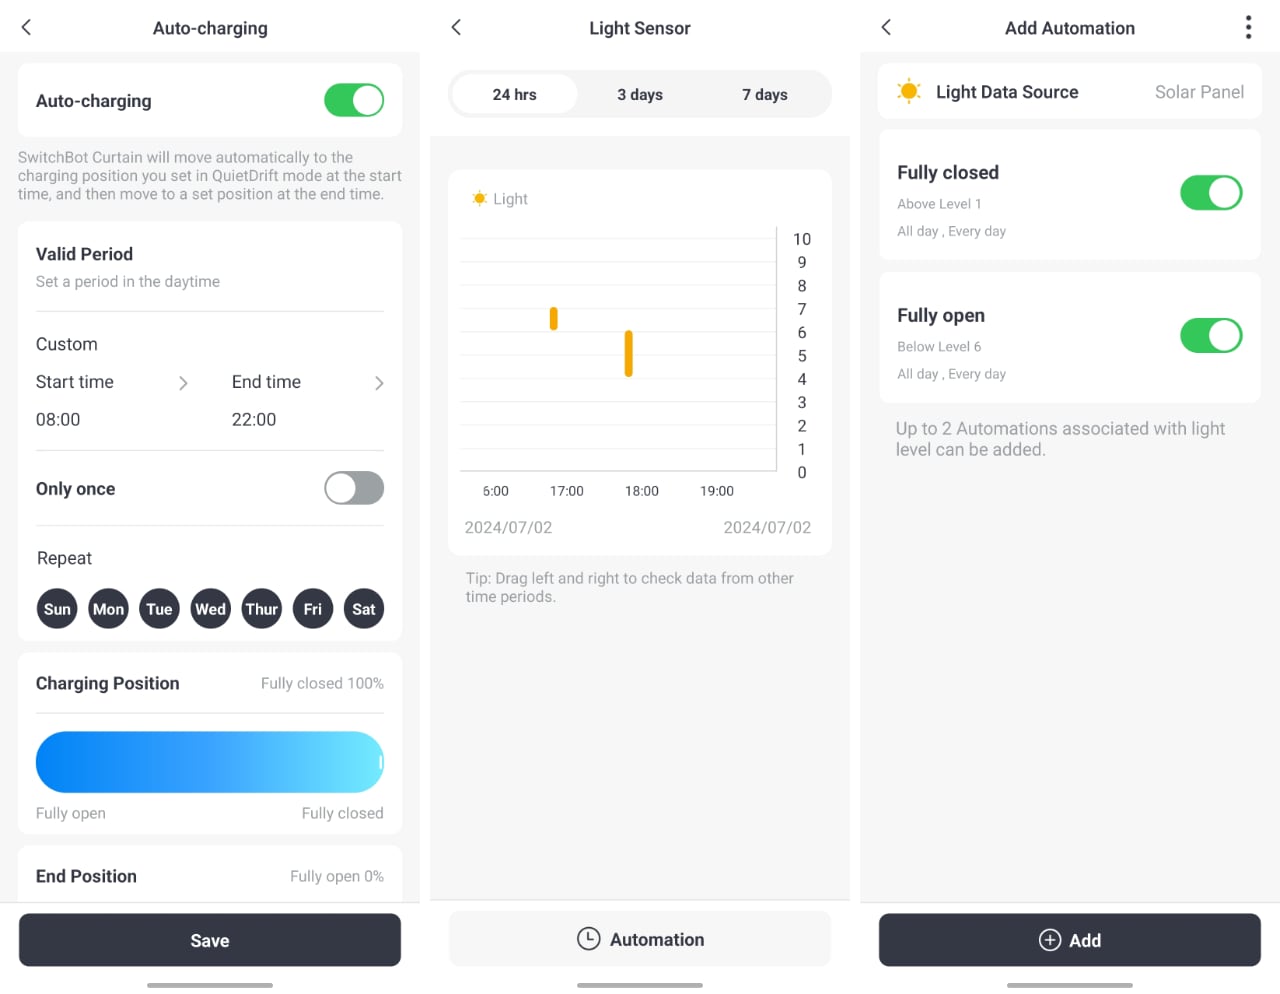
Now let's move on to the power-related settings of the app. You need to activate Auto-charging, then select the time period (I set it from 8am to 10pm), you can specify in which position the curtain will be charged. (I don't really understand the logic here, as in my understanding sunlight is available in any position of the curtain, but cases can be different and we all know very well that the efficiency of solar panels is highly dependent on placement and angle). Charging efficiency can be viewed in the Light Sensor tab, which displays statistics of the light level on a 10-point scale. It is clear that it is higher during the day, and lower in the morning and evening. That said, you can add up to 2 charging automation scenarios - I simply set the charging to both states - both fully open and fully closed blind.
As you can see in the last screenshot, at the end of the daylight hours, the SwitchBot Curtain 3's battery level has reached 100%. While it was at 87% when it was plugged in.


SwitchBot Curtain 3 review: In the Dry
If, like me, you've been considering automating the curtains in your home but have a healthy amount of scepticism about the idea, the SwitchBot Curtain 3 is designed to shatter all the doubts and dispel all the theory of objections I formed when researching the issue before getting to know this wonderful device. My credit of trust in SwitchBot has grown to unprecedented heights, and it seems that I will be closely watching all novelties of this manufacturer. Because such meticulous attention to detail when the user experience exceeds the laid (already considerable) expectations. All gadget manufacturers have something to learn here.

Six things to know about the SwitchBot Curtain 3 kit
- It's an easy-to-install device that turns any curtain into a smart curtain in a minute
- The kit is suitable for all types of curtain rods, paired and single curtains
- Integrates (Hub Mini required) with Amazon and Google smart home ecosystems, works with iFTTT
- Can control the curtain manually (you need to pull it 5cm)
- Has a silent (but slow) operation mode
- Optional solar panel allows you to forget about charging
For those who want to know more

Co-founder and editor-in-chief of gagadget.com. Graduated from the Journalism Department of Kyiv National University in 1998. I made my first publications in mass media in my school years (there were still newspapers then). Observed the evolution of smartphones in the front row since Nokia 7650 on Symbian. Since 2002 he has specialized in the topic of smartphones, mobile communications and analysis of the development of the consumer electronics market.