Setting Up Your New Robo-Cleaner: A No-Fuss Guide
Installing a floor cleaning robot with an auto-refill and drain system can revolutionize your home cleaning routine. This comprehensive guide will walk you through the process of setting up your robot and its accompanying water station, ensuring you get the most out of your automated cleaning system.
Short answer: To install a floor cleaning robot with an auto-refill and drain system, you'll need to connect the water station to your home plumbing, position the auto-empty station, set up the robot, and configure it using a smartphone app. Proper installation involves careful placement, correct plumbing connections, and thorough testing to ensure optimal performance and convenience.
Quick Start:
- Water Station Installation
- Auto-Empty Station Setup
- Robot Setup
- Getting Your Robot Online
- Maintenance Checklist
- Troubleshooting Table
- Frequently Asked Questions
Water Station Installation

The water station is a crucial component of your floor cleaning robot system, enabling auto-refill and drain functions. Proper installation is key to ensuring smooth operation and preventing water damage.
Installation Requirements
Before beginning the installation process, ensure you have the following:
- A suitable installation area with at least 0.1m in height, 1m of open space in front, and 5 cm on both sides;
- Running water inlet pressure between 0.1 MPa to 0.6 MPa (15 psi to 80 psi);
- Water temperature below 40°C (104°F);
- Necessary tools: adjustable wrench, screwdriver, and pliers;
- Plumbing accessories provided with your water station kit.
Environment Considerations
To ensure optimal performance and longevity of your system:
Avoid placing the water station near thresholds or steps higher than 2 cm (0.8 in.) as this could impede the robot's return. Keep the station away from areas with direct water exposure, such as shower rooms or open balconies, to prevent water damage. Avoid placing the station in direct sunlight, as this can reduce its lifespan. Always place the station on a hard, level surface, not on carpets or mats, to ensure stability and prevent potential water leaks.
Connecting the Water Inlet System
The water inlet connection process may vary depending on your home's plumbing setup. However, the general steps are as follows:
First, turn off the water supply at the angle stop valve to prevent water flow during installation. Next, install the appropriate connector (such as a compression tee valve or dishwasher water inlet tee) to the water station's inlet hose. Use plumber's tape on threaded connections to ensure a watertight seal. Then, connect the original inlet pipe to the new connector, making sure to use any necessary rubber gaskets. Attach the connector to the angle stop valve, tightening all connections with a wrench. Finally, turn on the water supply and check for any leaks, tightening connections further if necessary.
Connecting the Drain System
The drain system can typically be connected to a sink drain pipe, garbage disposal, or P-trap. Here's a general overview of the process:
Begin by placing a waste bucket under the drain pipe to catch any water. If present, remove any existing drain hoses from your current setup. Install the provided drainage tee onto the water station's drain hose, ensuring a tight fit. Connect this drainage tee to your chosen drain point, whether it's a sink drain pipe, garbage disposal, or P-trap. If you removed any drain hoses earlier, reattach them to the new drainage tee. Use hose clamps where necessary to secure connections. Once everything is connected, run water through the system to check for any leaks, tightening connections as needed.
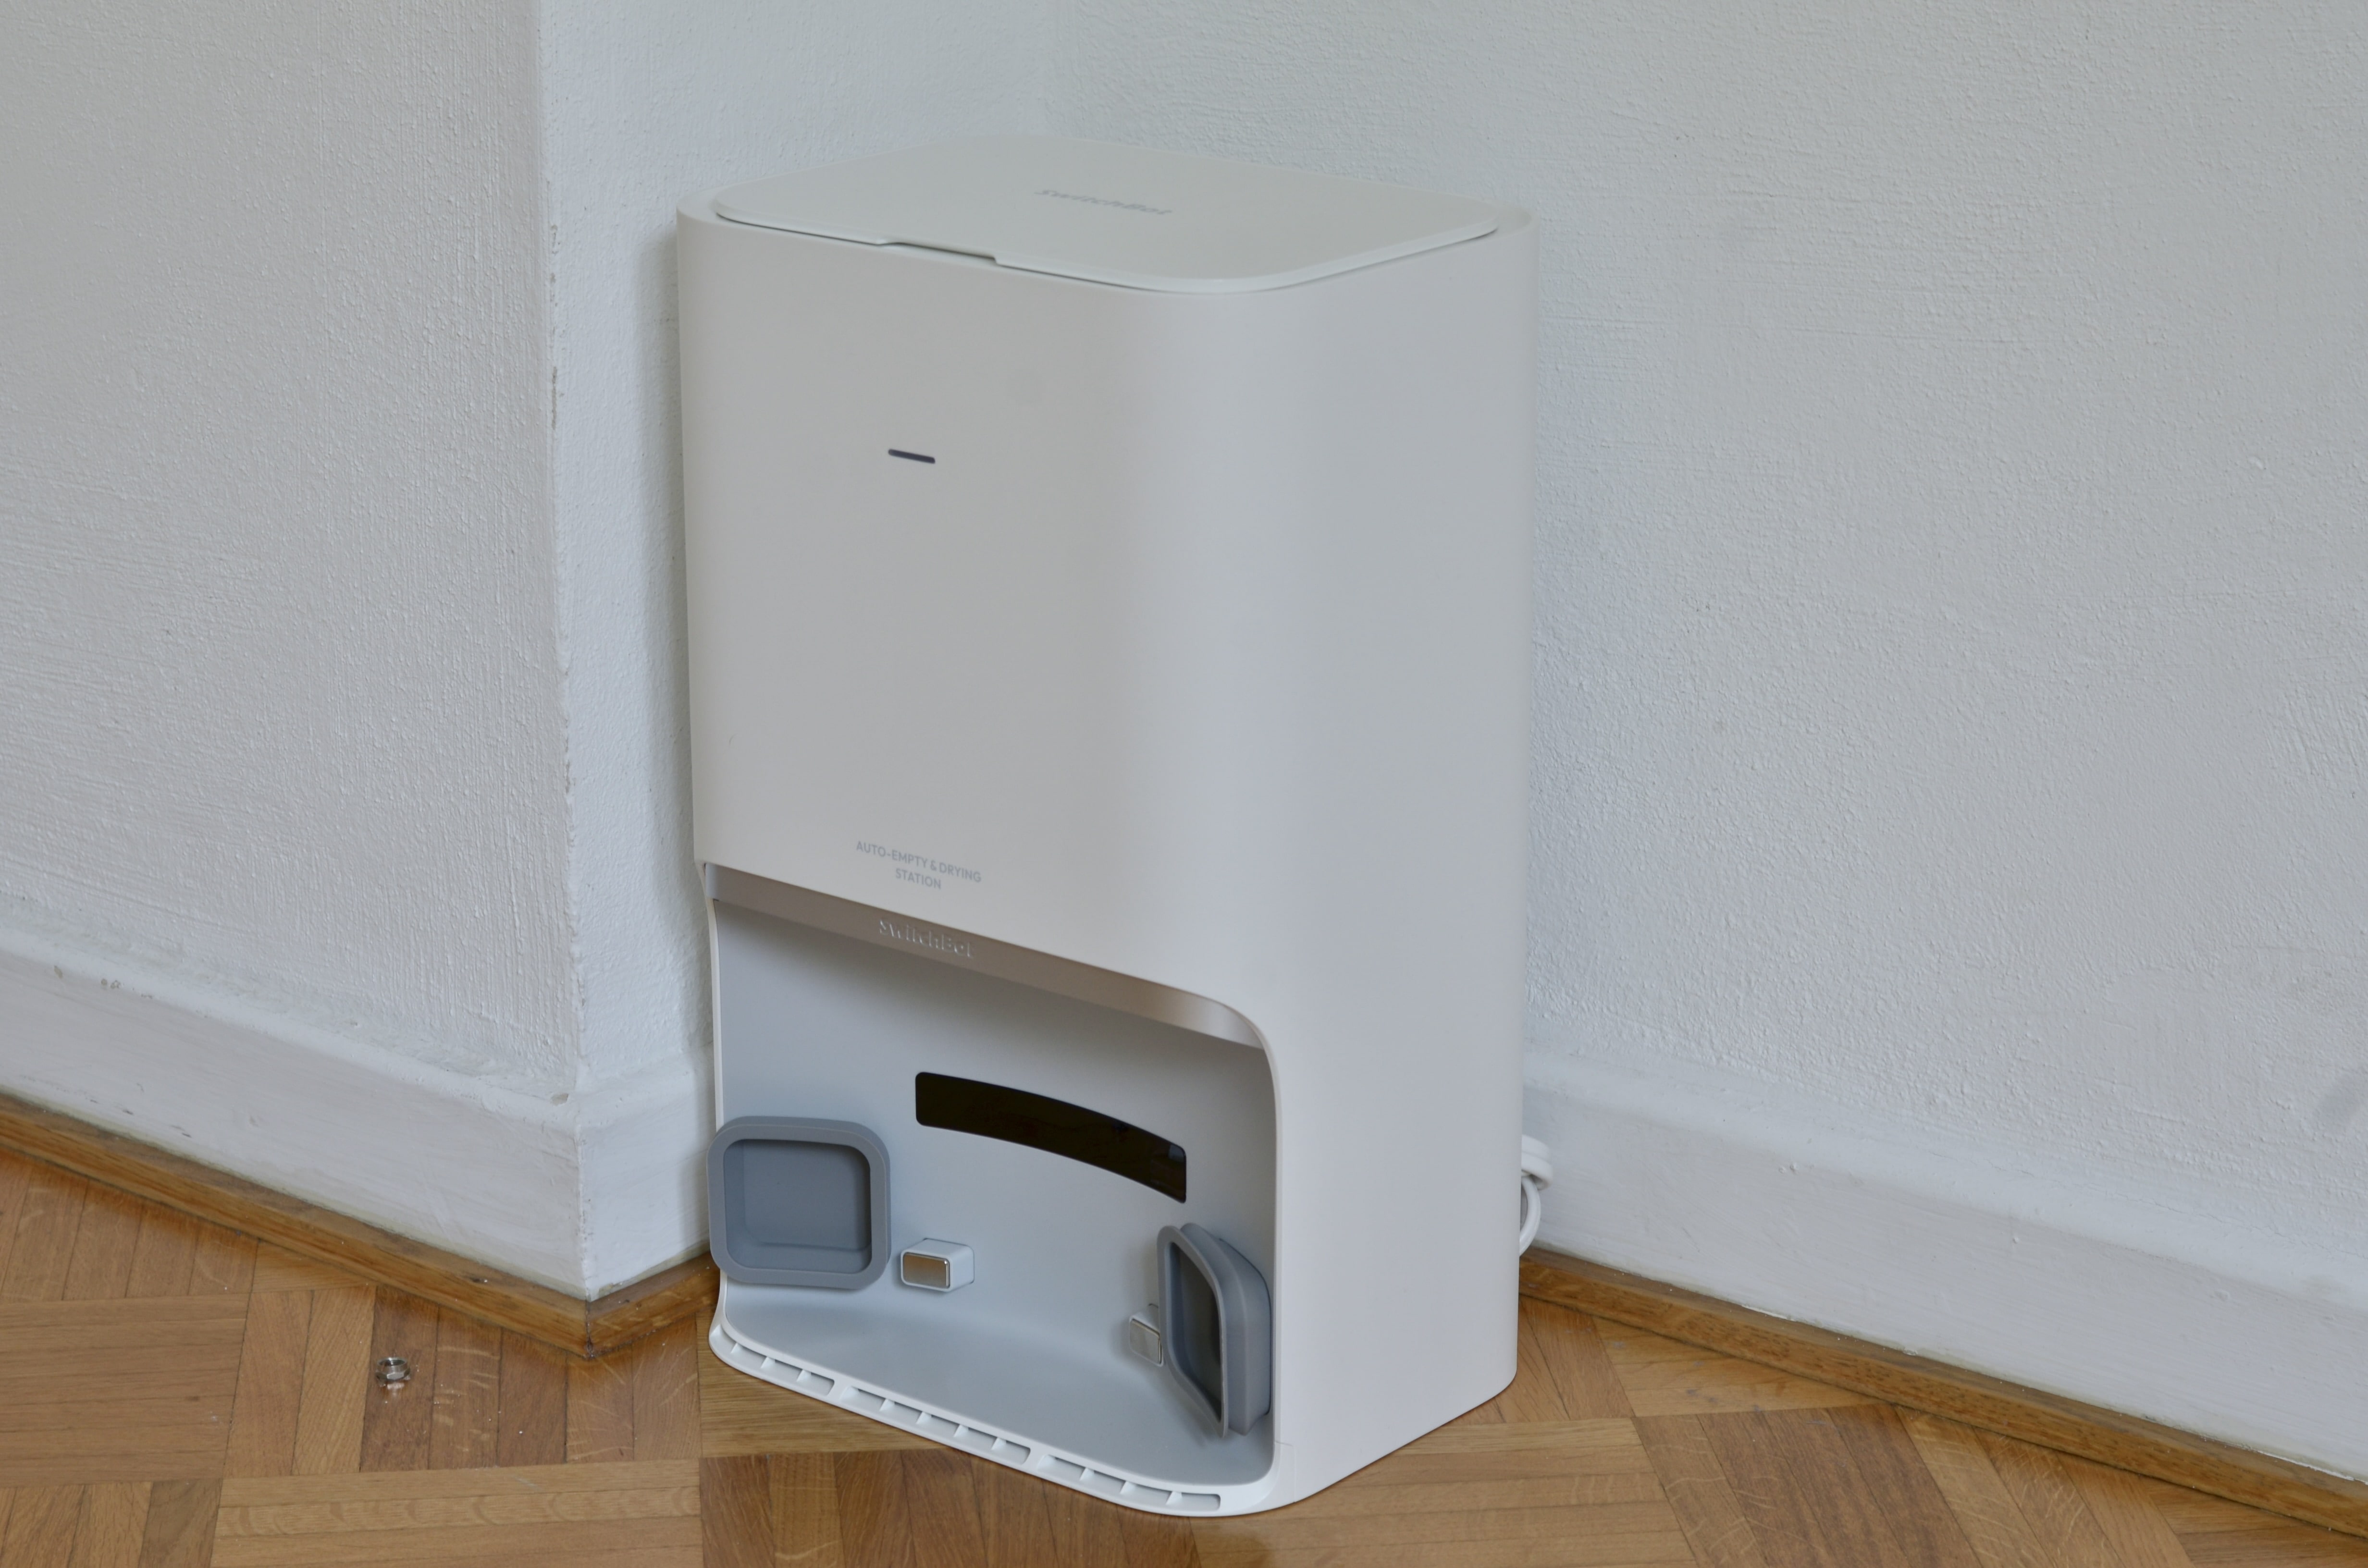
Setting Up Your Robot's Home Base

Alright, let's talk about your robot's little charging castle – the auto-empty station. This nifty gadget is where your robot goes to juice up and dump its dirt. Getting it set up right is key to keeping your robot happy and your floors spotless.
First things first, let's find the perfect spot. You're looking for a nice, flat area with a hard floor – no shag carpets allowed here! Stick it up against a wall, but make sure you've got a power outlet nearby. Trust me, you don't want to be tripping over extension cords.
Now, here's a pro tip: check your Wi-Fi signal in that area. Your robot needs a good connection to stay in touch with its app, so avoid those Wi-Fi dead zones.
Space is important too. Give your station some breathing room – about 0.5 meters (that's roughly 1.5 feet for you non-metric folks) on each side, and a good 1.5 meters (about 5 feet) in front. This gives your robot plenty of room to make its grand entrance when it's time to dock.
Once you've found that perfect spot, plug in the station and snug it up against the wall. Make sure it's not wobbling or tilting – we want a stable home for our hardworking robot pal.
And there you have it! You've just set up robot HQ. Now your little cleaning buddy has a place to call home, charge up, and empty out after a hard day's work. Isn't technology grand?
Robot Setup
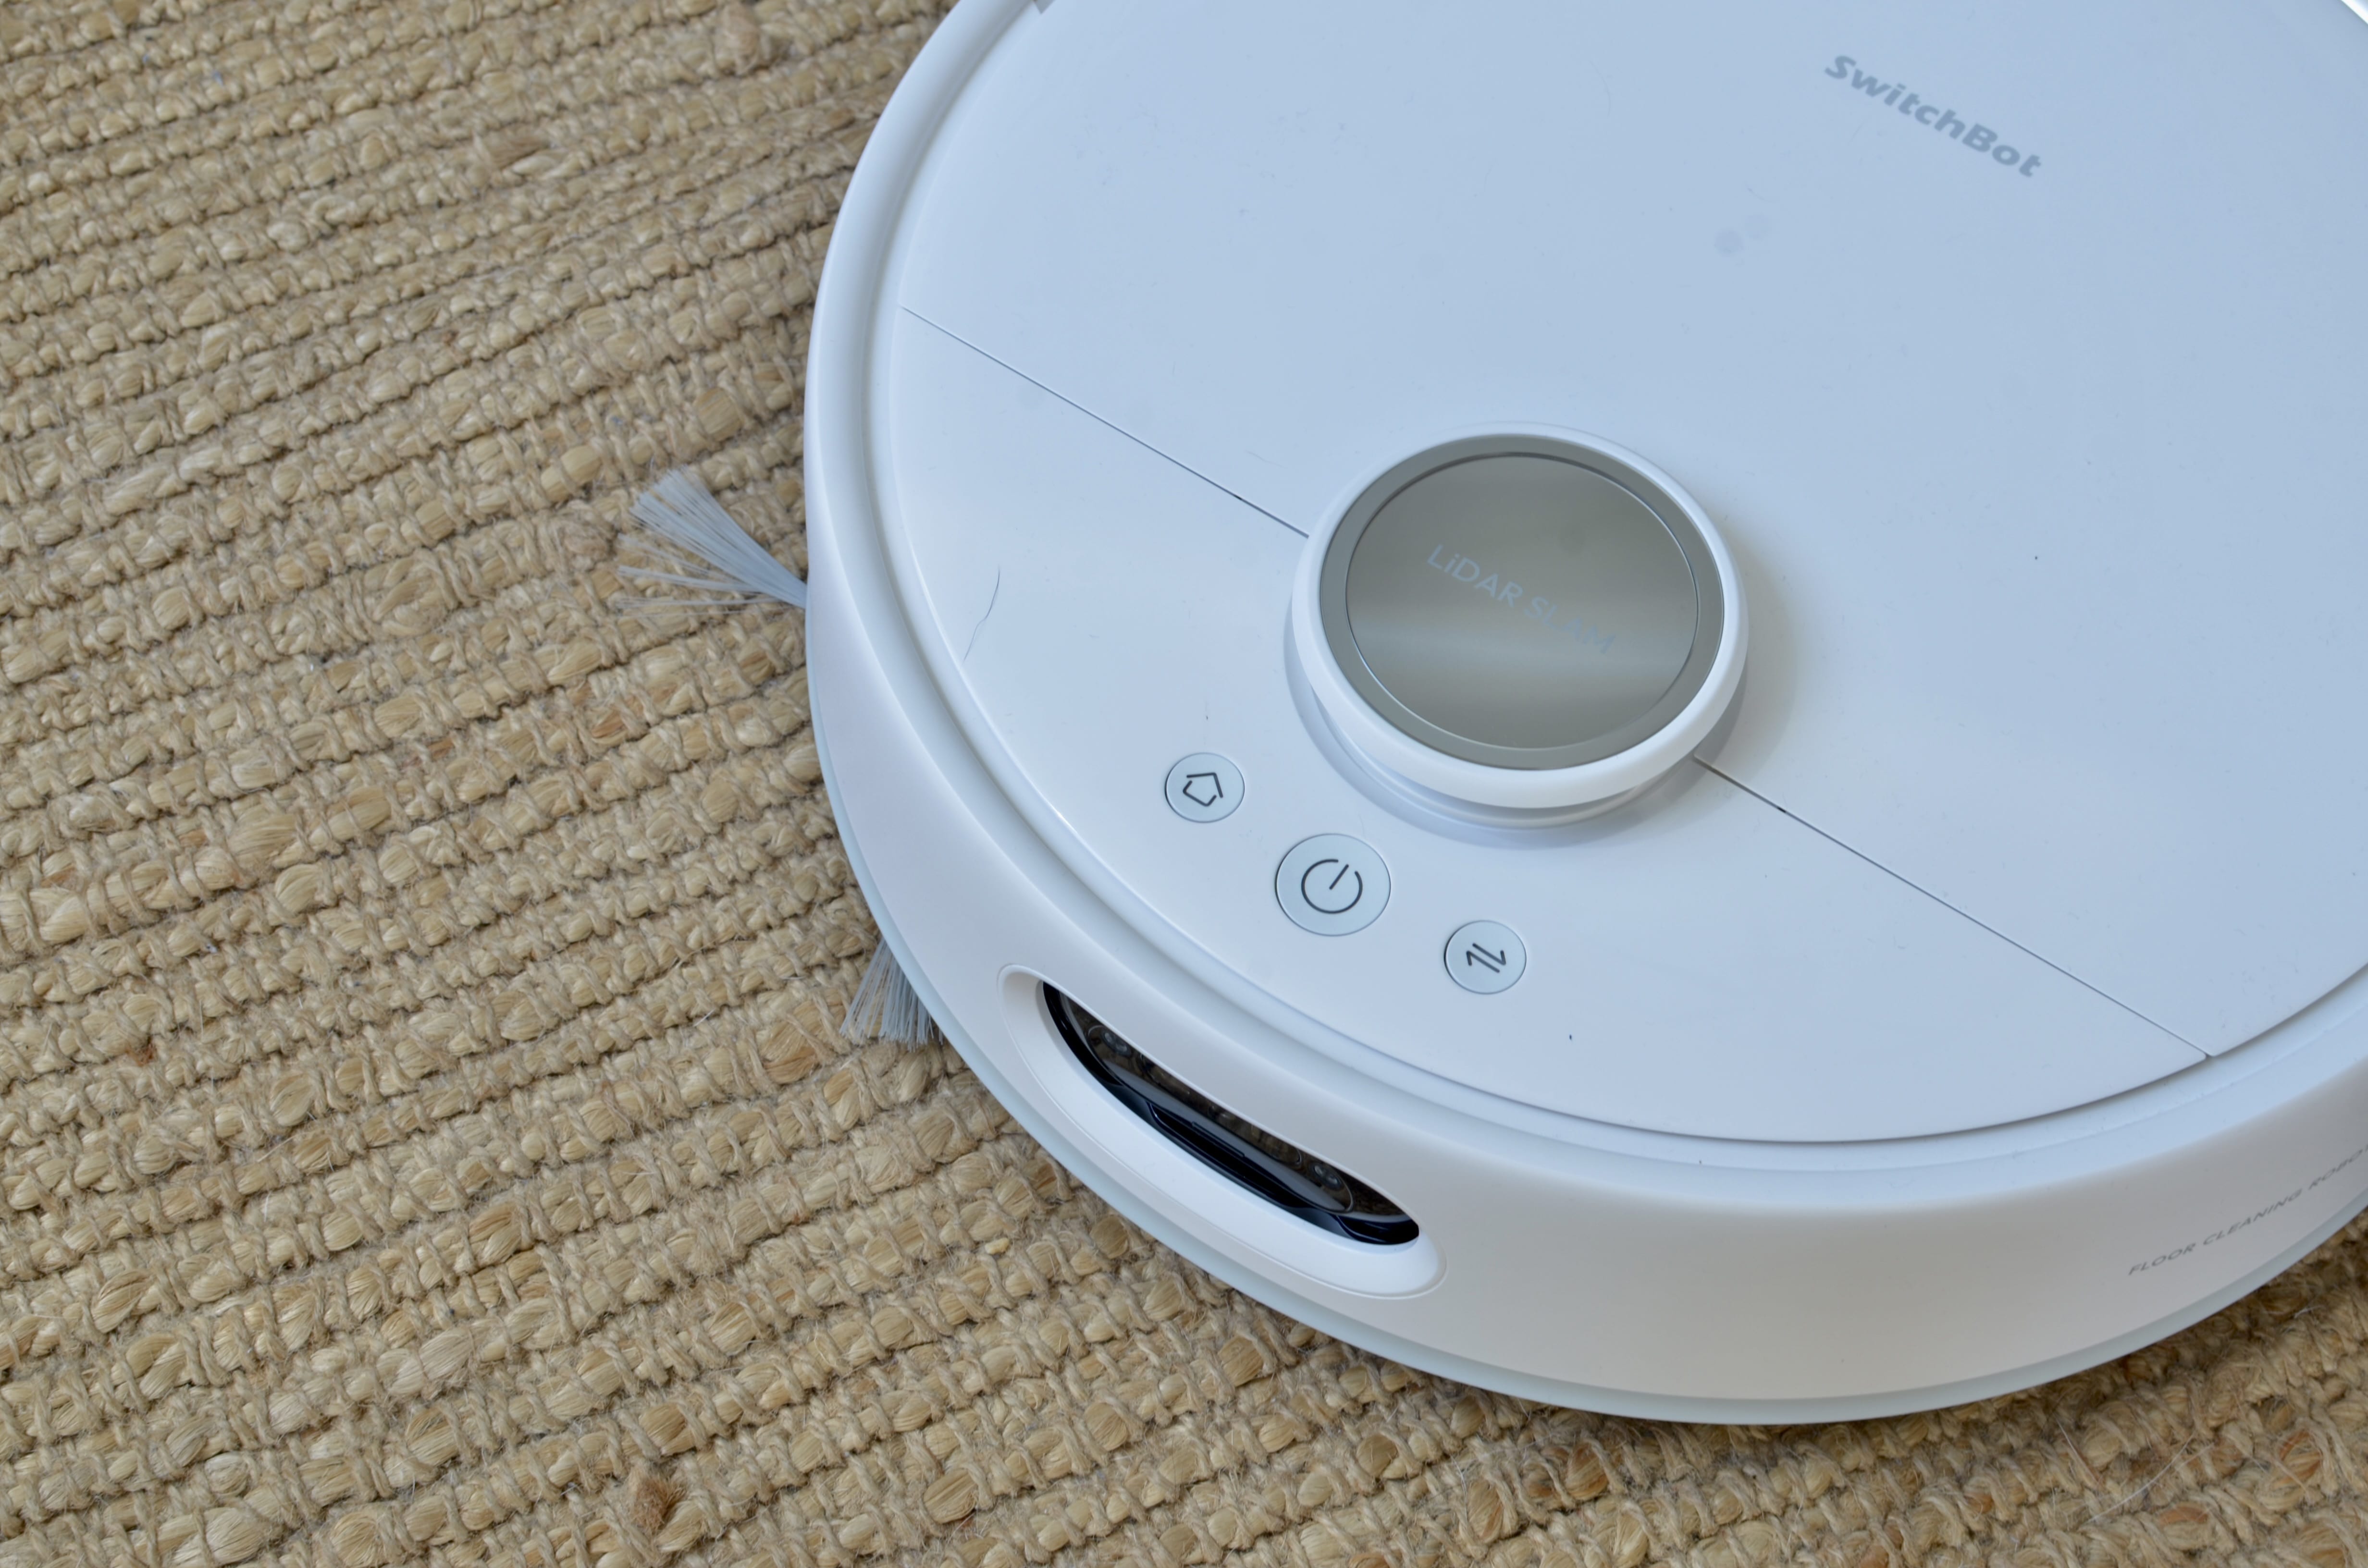
Setting up your floor cleaning robot is a breeze, but there are a few key steps to follow:
First things first, unbox your new robotic helper carefully. You'll want to remove all the protective packaging – don't forget to peel off those foam strips! Next, take a look at the side brush. If it's not already attached, go ahead and snap it on. Trust me, this little brush is a game-changer for getting into those pesky corners.
Now, let's bring your robot to life. Find the power switch – it's usually hiding on the side or bottom of the unit. Flip it on and watch for the indicator light. Once it blinks to life, you'll know your robot's ready to roll.
Time to introduce your robot to its new home base. Gently place it on the auto-empty station. This is where the magic happens – it'll charge up and empty its dustbin all on its own. Pretty neat, right?
Here's a pro tip: let your new buddy charge for at least half an hour before its maiden voyage. This'll ensure the battery is primed and ready to tackle your floors. After that, you're all set to let your robot loose and enjoy your hands-free cleaning experience!
Getting Your Robot Online

Ready to unleash the full potential of your new floor-cleaning buddy? It's all about the app, folks! Here's how to get connected:
First up, grab your smartphone and head to your app store. Search for your robot's official app and hit that download button. Once it's installed, you'll need to create an account – or if you're already in the club, just log in.
Now, let's introduce your robot to the digital world. The app will walk you through adding your new helper to your virtual cleaning crew. It's usually pretty straightforward – you'll pick your robot model from a list and then get it hooked up to your home Wi-Fi. Just follow the prompts, and you'll be connected in no time.
Here's where it gets exciting – your app might ask to update your robot's firmware. Don't skip this step! It's like giving your robot a mini brain boost, unlocking new features and squashing any pesky bugs. Trust me, it's worth the few extra minutes.
Once that's done, it's time to make your robot work for you. Dive into the app settings and customize away! Set up no-go zones to keep your robot out of trouble, schedule cleaning times (because who doesn't want to come home to clean floors?), and tweak those cleaning preferences. Want a deep clean in the kitchen but a quick once-over in the bedroom? No problem!
And just like that, you've got a smart, efficient, and obedient little cleaning machine at your fingertips.
Maintenance Checklist
Regular maintenance is key to keeping your floor cleaning robot system in top condition. Here's a comprehensive checklist of tasks to perform:
- Daily: Empty the dustbin if not using an auto-empty station;
- Weekly: Clean the main brush and side brush, removing any tangled hair or debris;
- Weekly: Wipe the sensors with a soft, dry cloth to ensure accurate navigation;
- Bi-weekly: Clean the wheels, removing any wrapped-around debris;
- Monthly: Replace the dust bag in the auto-empty station;
- Monthly: Clean the water station, checking for any mineral buildup;
- Monthly: Check and clean the filter, replacing if necessary;
- Quarterly: Inspect and clean the auto-empty station port;
- Bi-annually: Replace the side brush and main brush;
- Annually: Replace the filter and check the battery health.
Troubleshooting Table
If you run into any hiccups with your floor cleaning robot, don't sweat it – check out this handy troubleshooting guide to get your robotic helper back on track in no time:
| Issue | Possible Cause | Solution |
|---|---|---|
| Robot won't turn on | Battery is depleted | Charge the robot for at least 30 minutes |
| Poor cleaning performance | Brushes or filter are dirty | Clean or replace brushes and filter |
| Robot can't find dock | Obstacles blocking path | Clear path to docking station |
| Water leakage | Loose connections | Check and tighten all water connections |
| App connection issues | Wi-Fi problems | Ensure stable Wi-Fi and reset connection |
Frequently Asked Questions
How often should I clean the water station?
It's recommended to clean the water station at least once a month to prevent buildup of dirt and minerals that could affect its performance. In areas with hard water, more frequent cleaning may be necessary.
What should I do if the robot won't connect to my Wi-Fi network?
Ensure your Wi-Fi network is 2.4GHz, as many robots don't support 5GHz networks. If issues persist, try resetting the robot's Wi-Fi connection and reconnecting through the app. Also, check that your router's firmware is up to date.
Can I use the robot without connecting it to the app?
While basic functions may work without the app, you'll need to use the app to access advanced features, schedule cleanings, and receive firmware updates. The app also provides valuable insights into your robot's performance and maintenance needs.
Conclusion
Installing a floor cleaning robot with an auto-refill and drain system may seem daunting at first, but with careful attention to detail and following this guide, you can set up a powerful automated cleaning solution for your home. The key to success lies in proper installation of the water station, strategic placement of the auto-empty station, and correct setup of the robot and accompanying app.
Remember that regular maintenance is crucial for optimal performance. By following the provided maintenance checklist and troubleshooting common issues using our guide, you can ensure your floor cleaning robot system continues to operate efficiently for years to come. With your new automated cleaning system in place, you'll enjoy a cleaner home with minimal effort, freeing up your time for more important activities.
